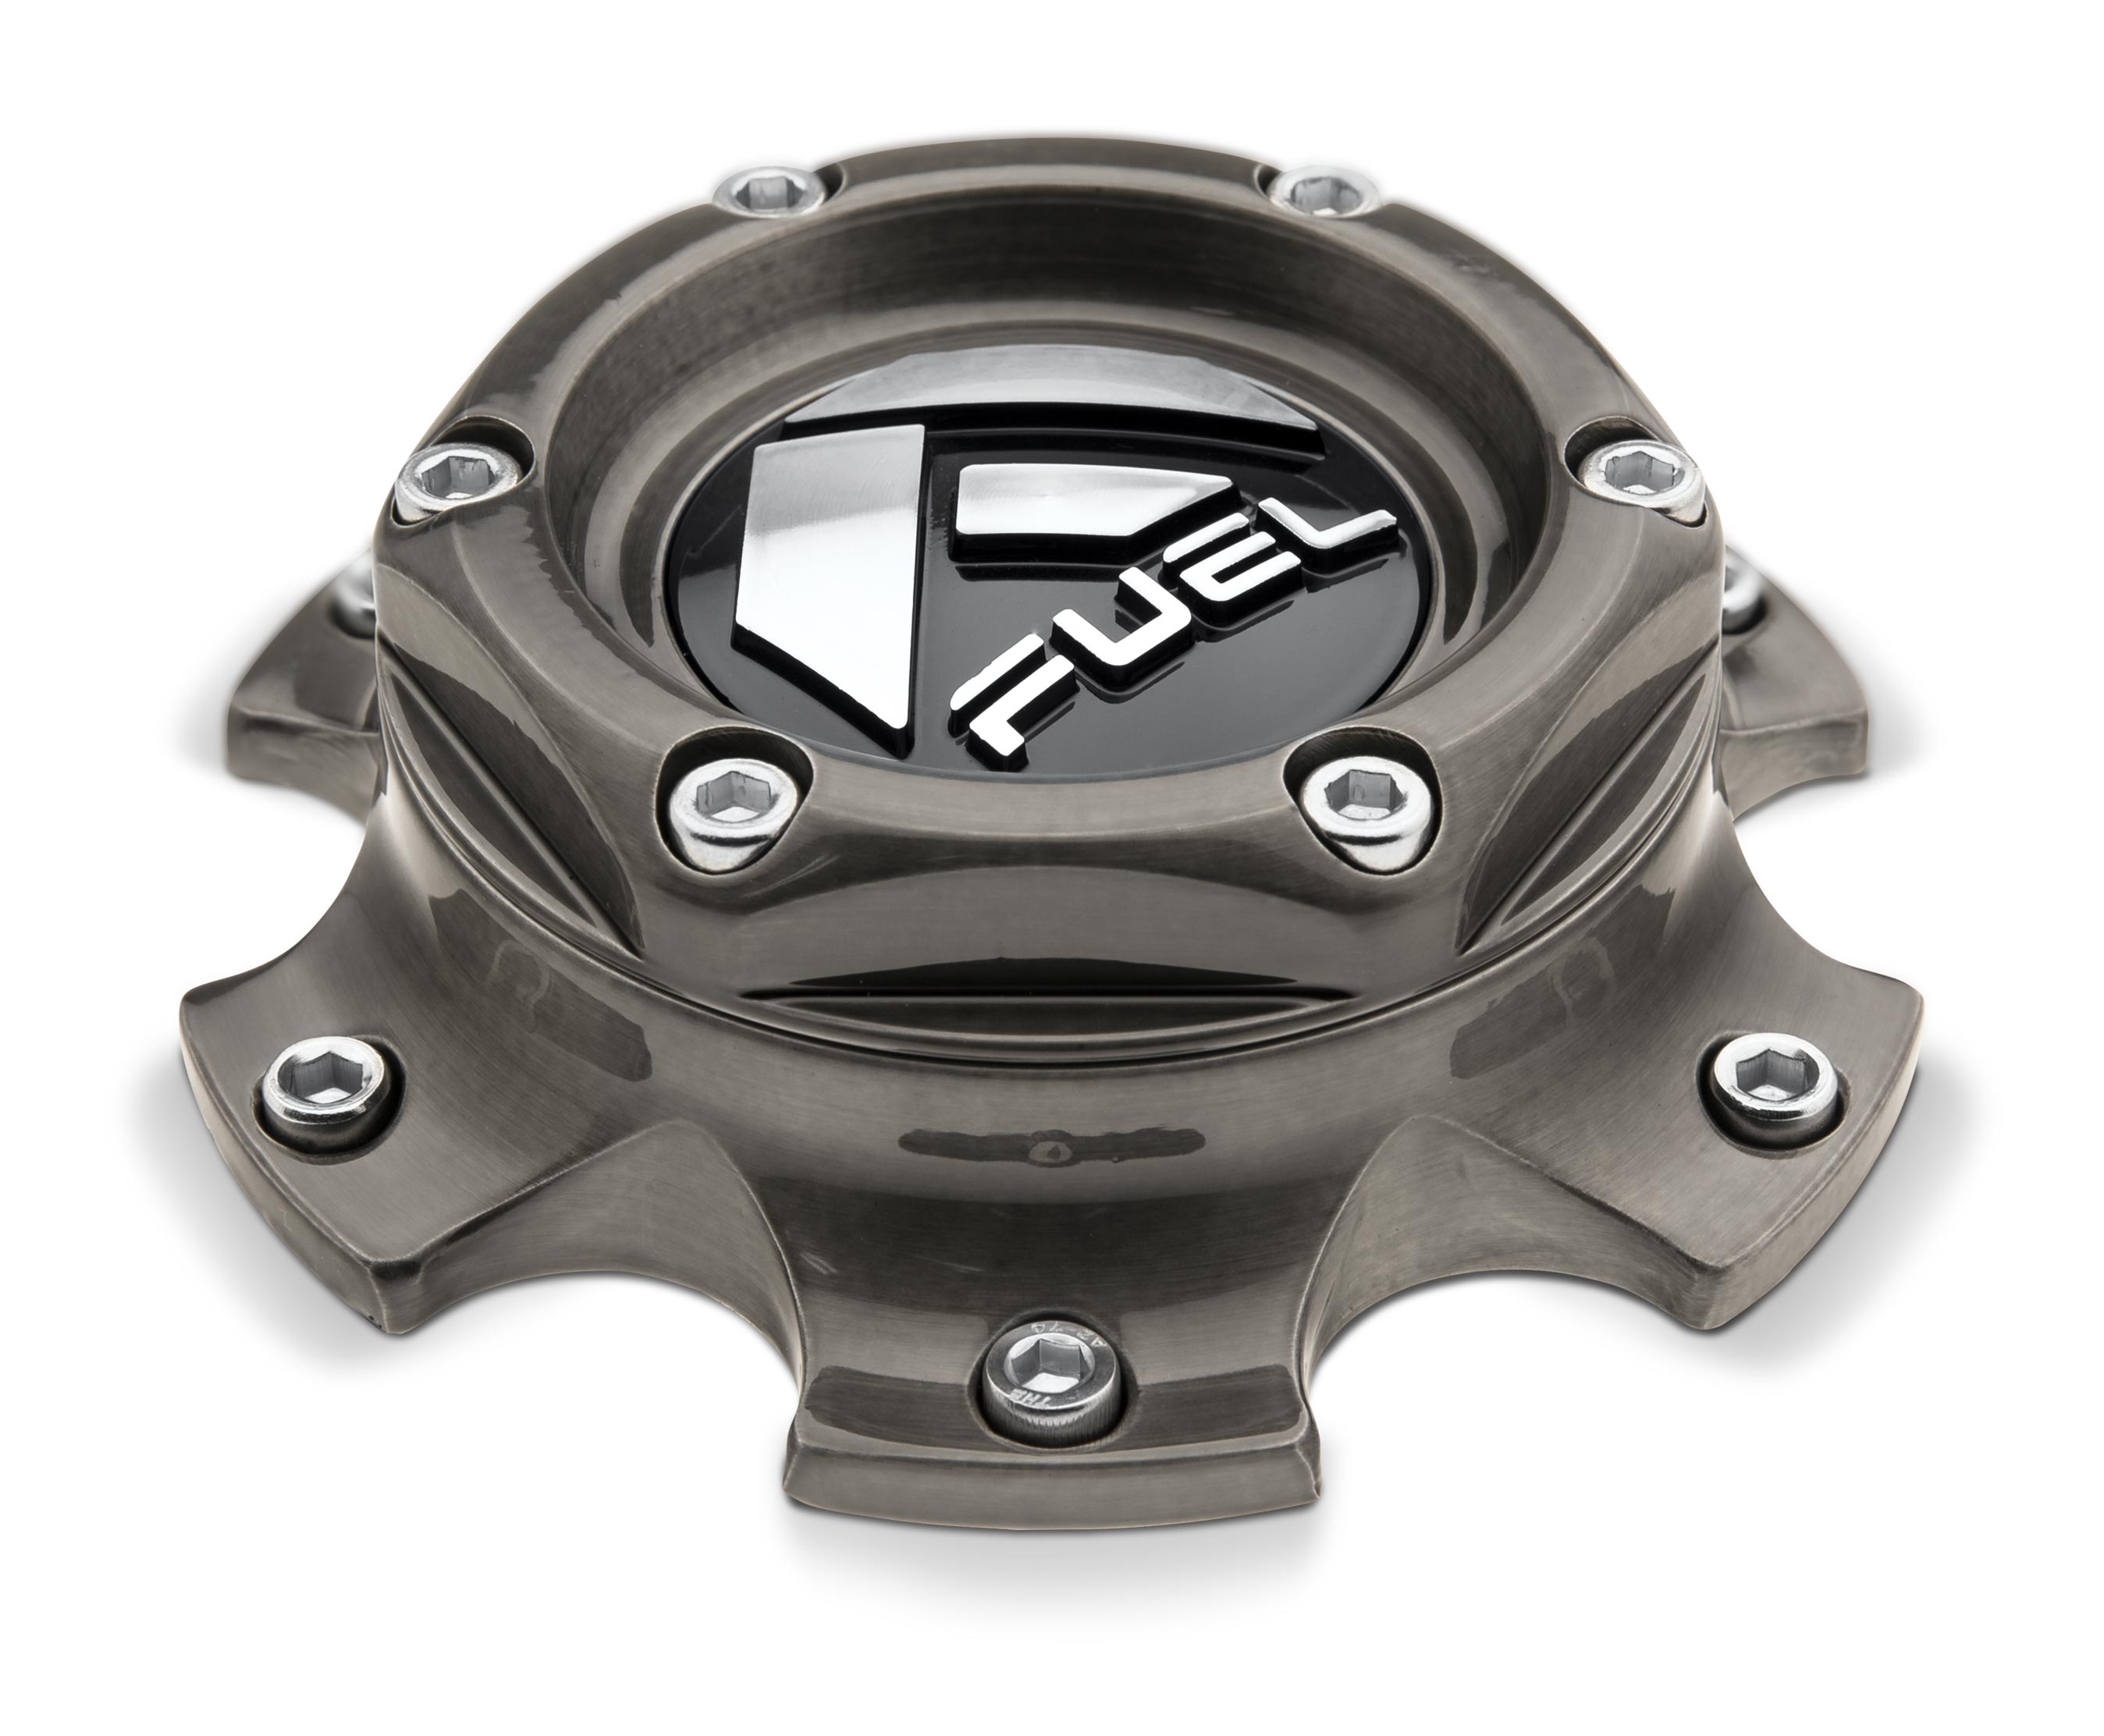
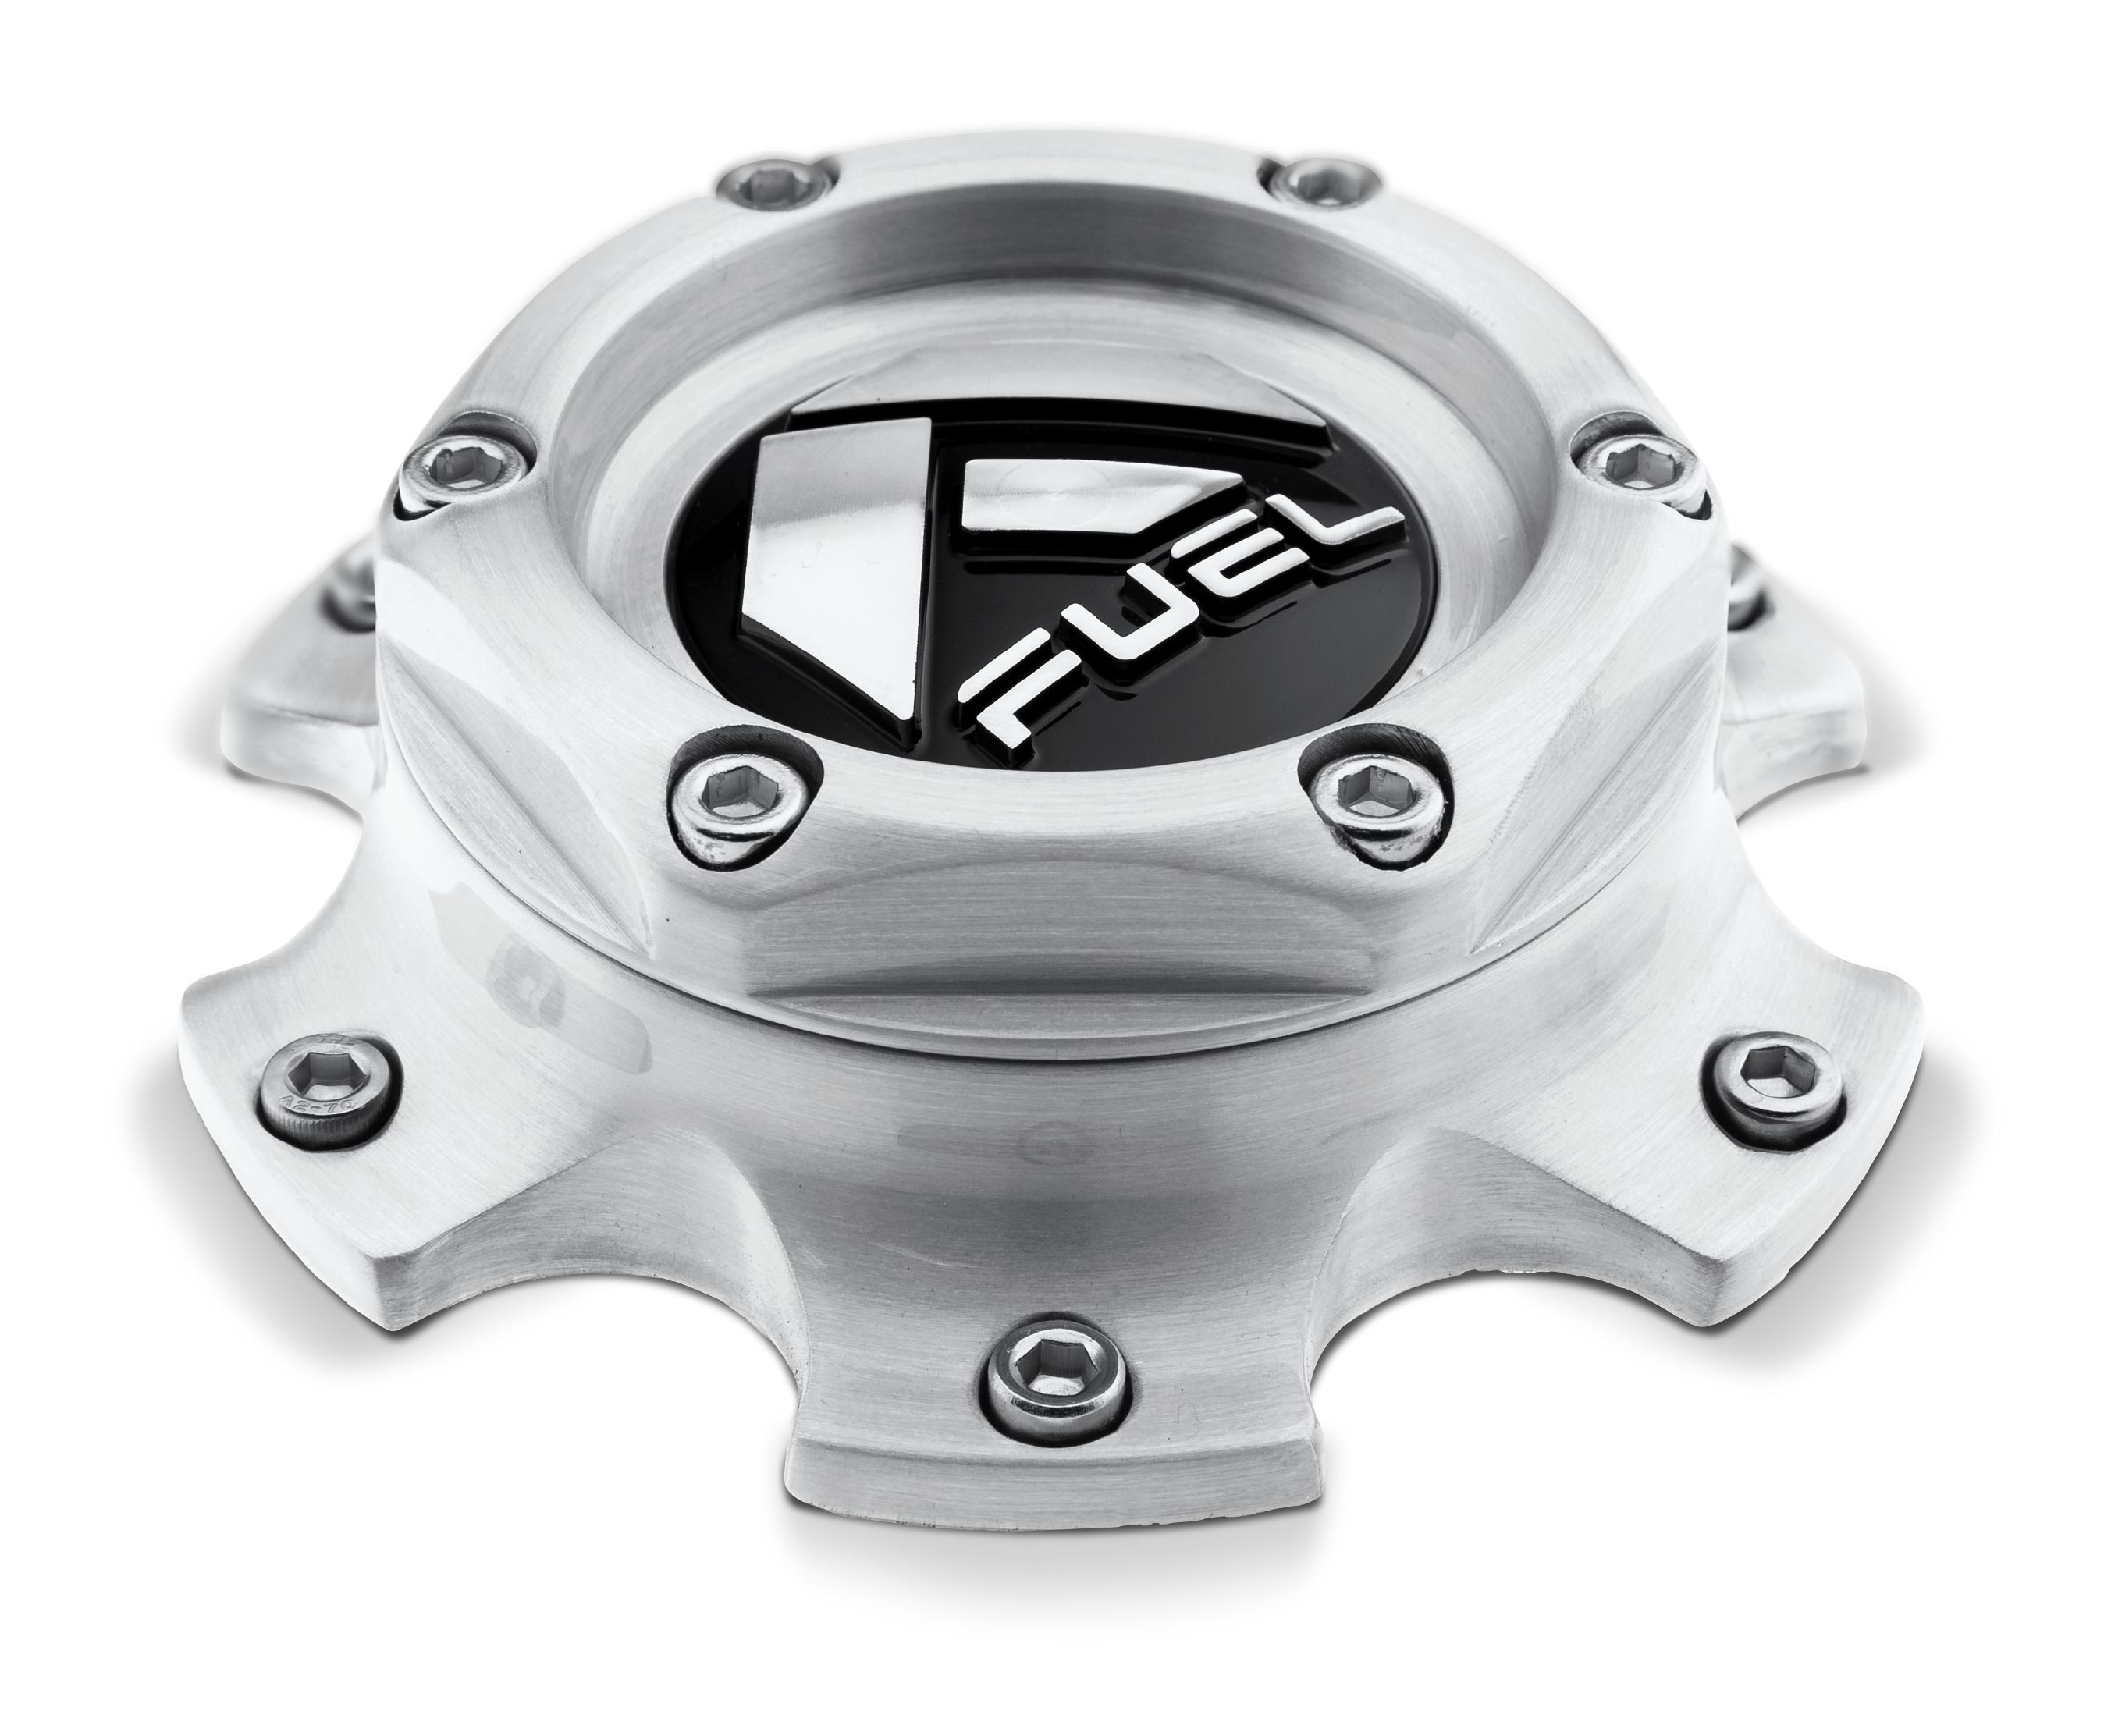
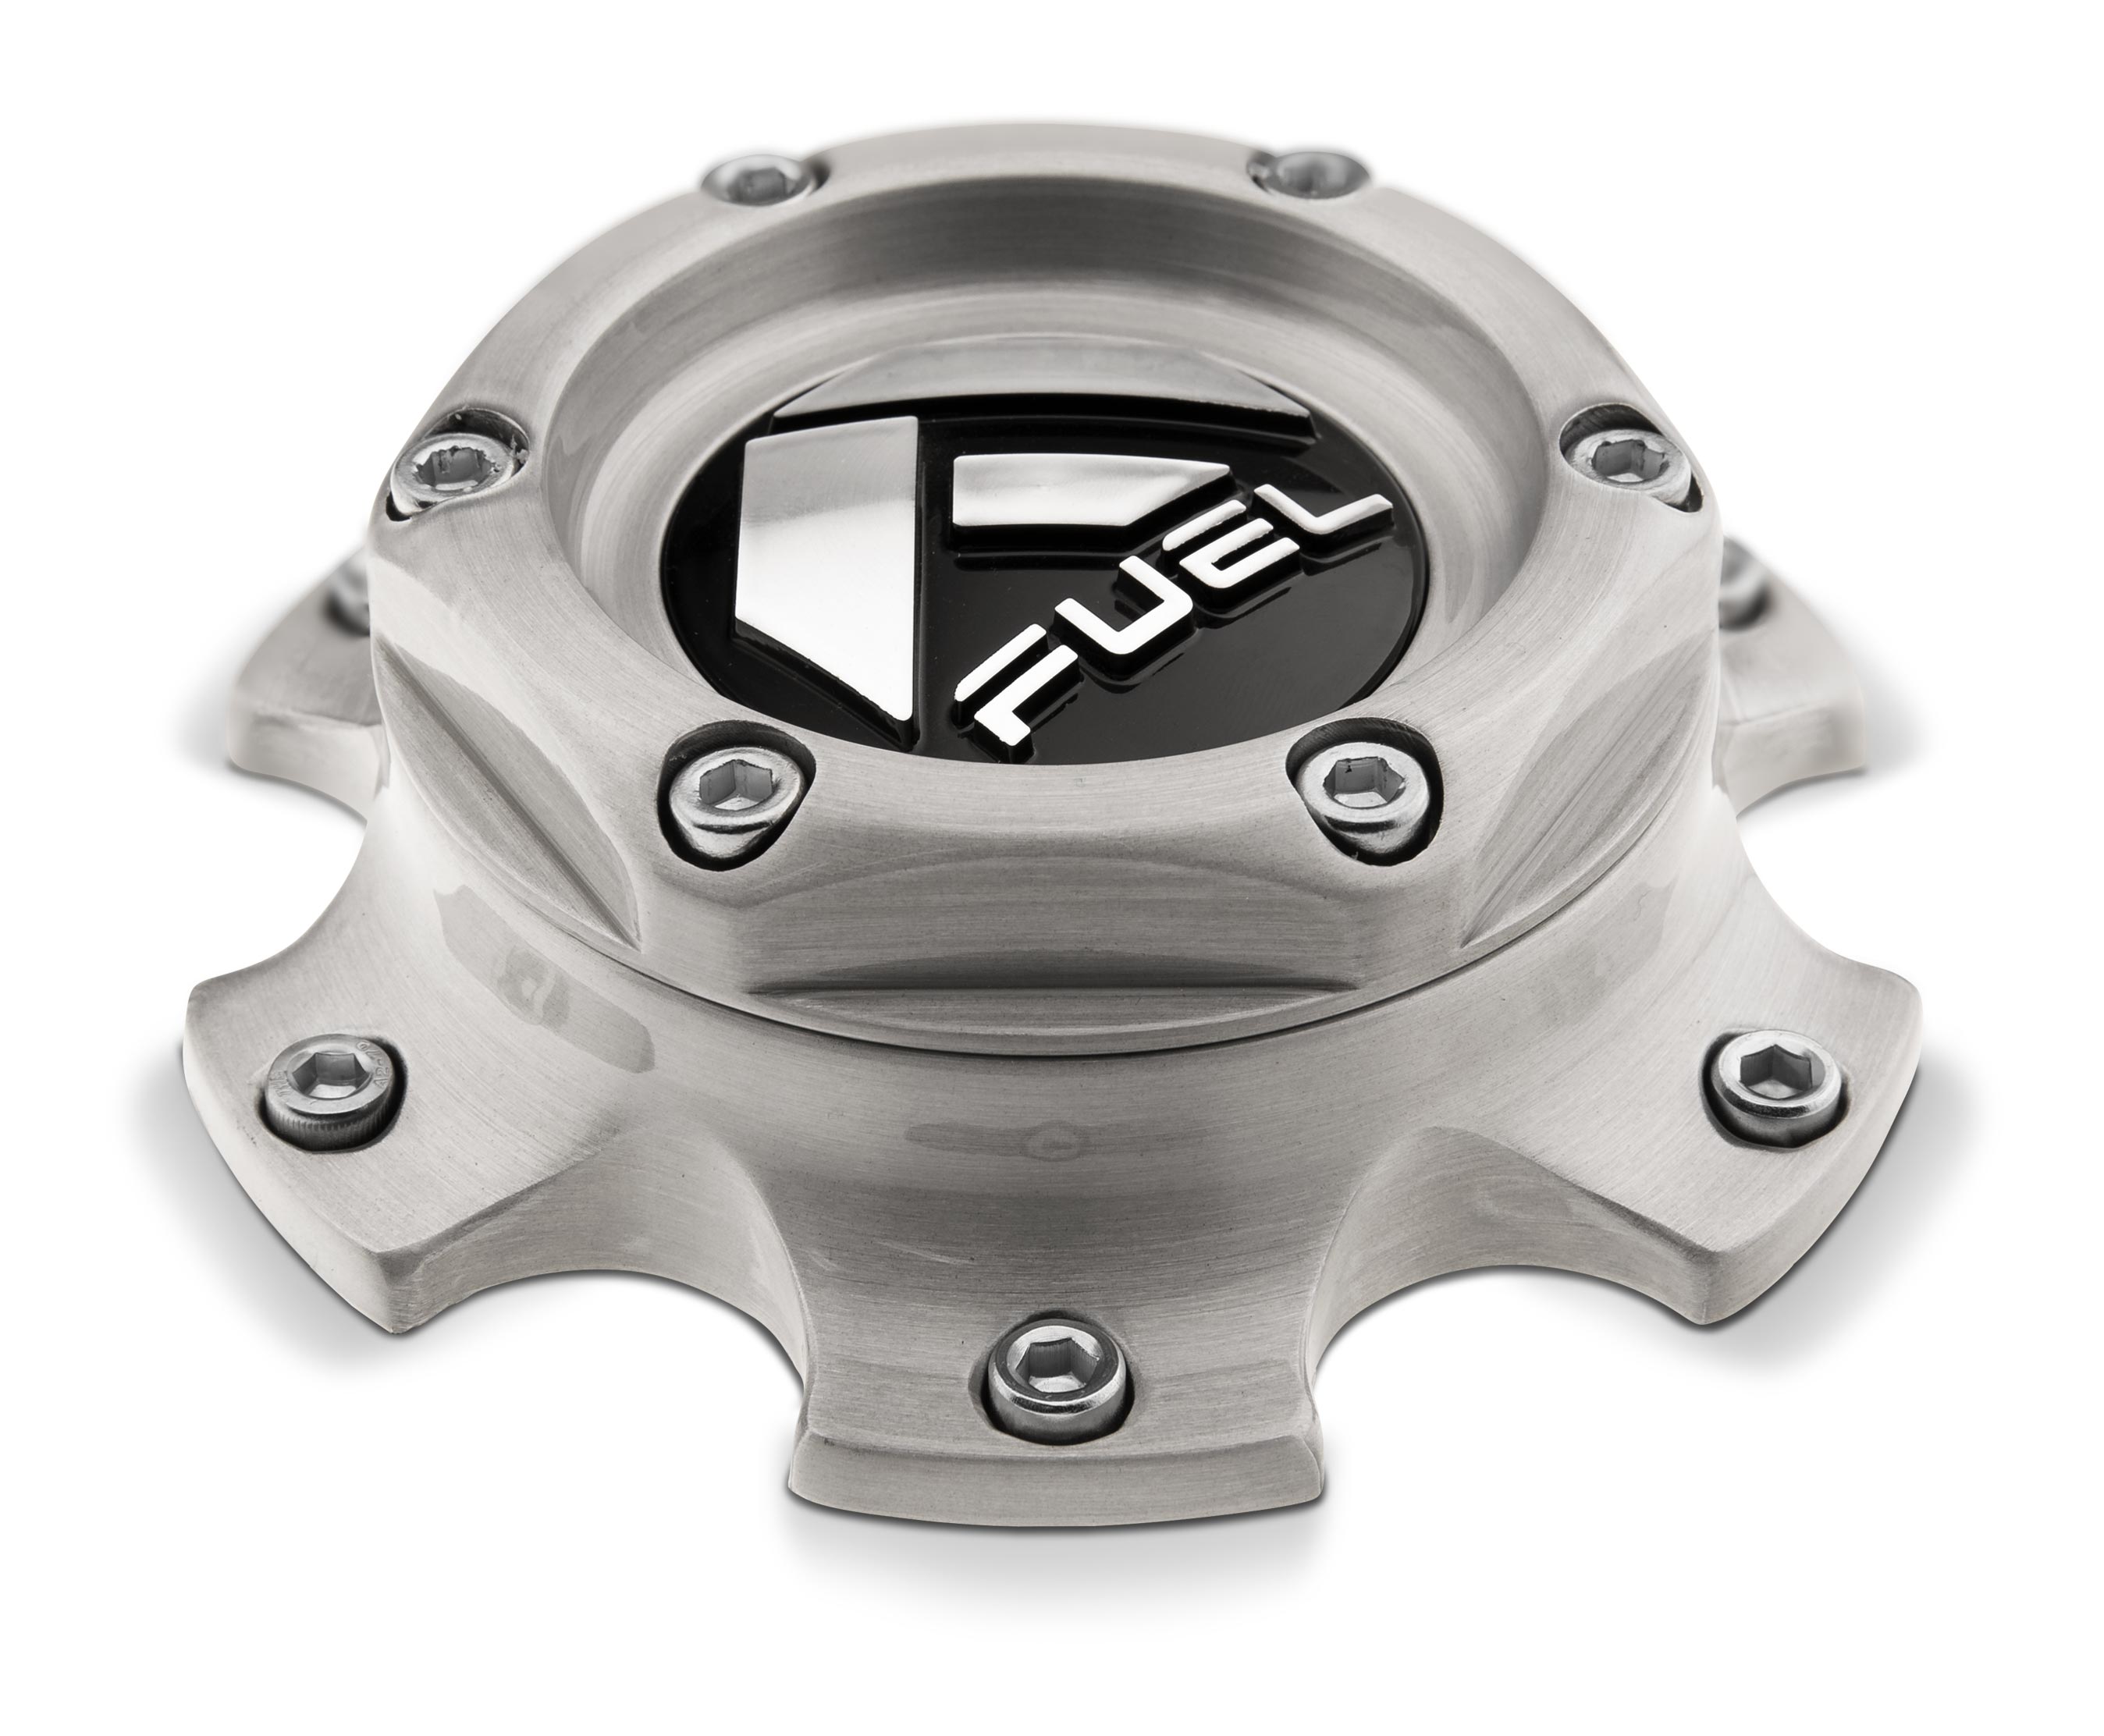
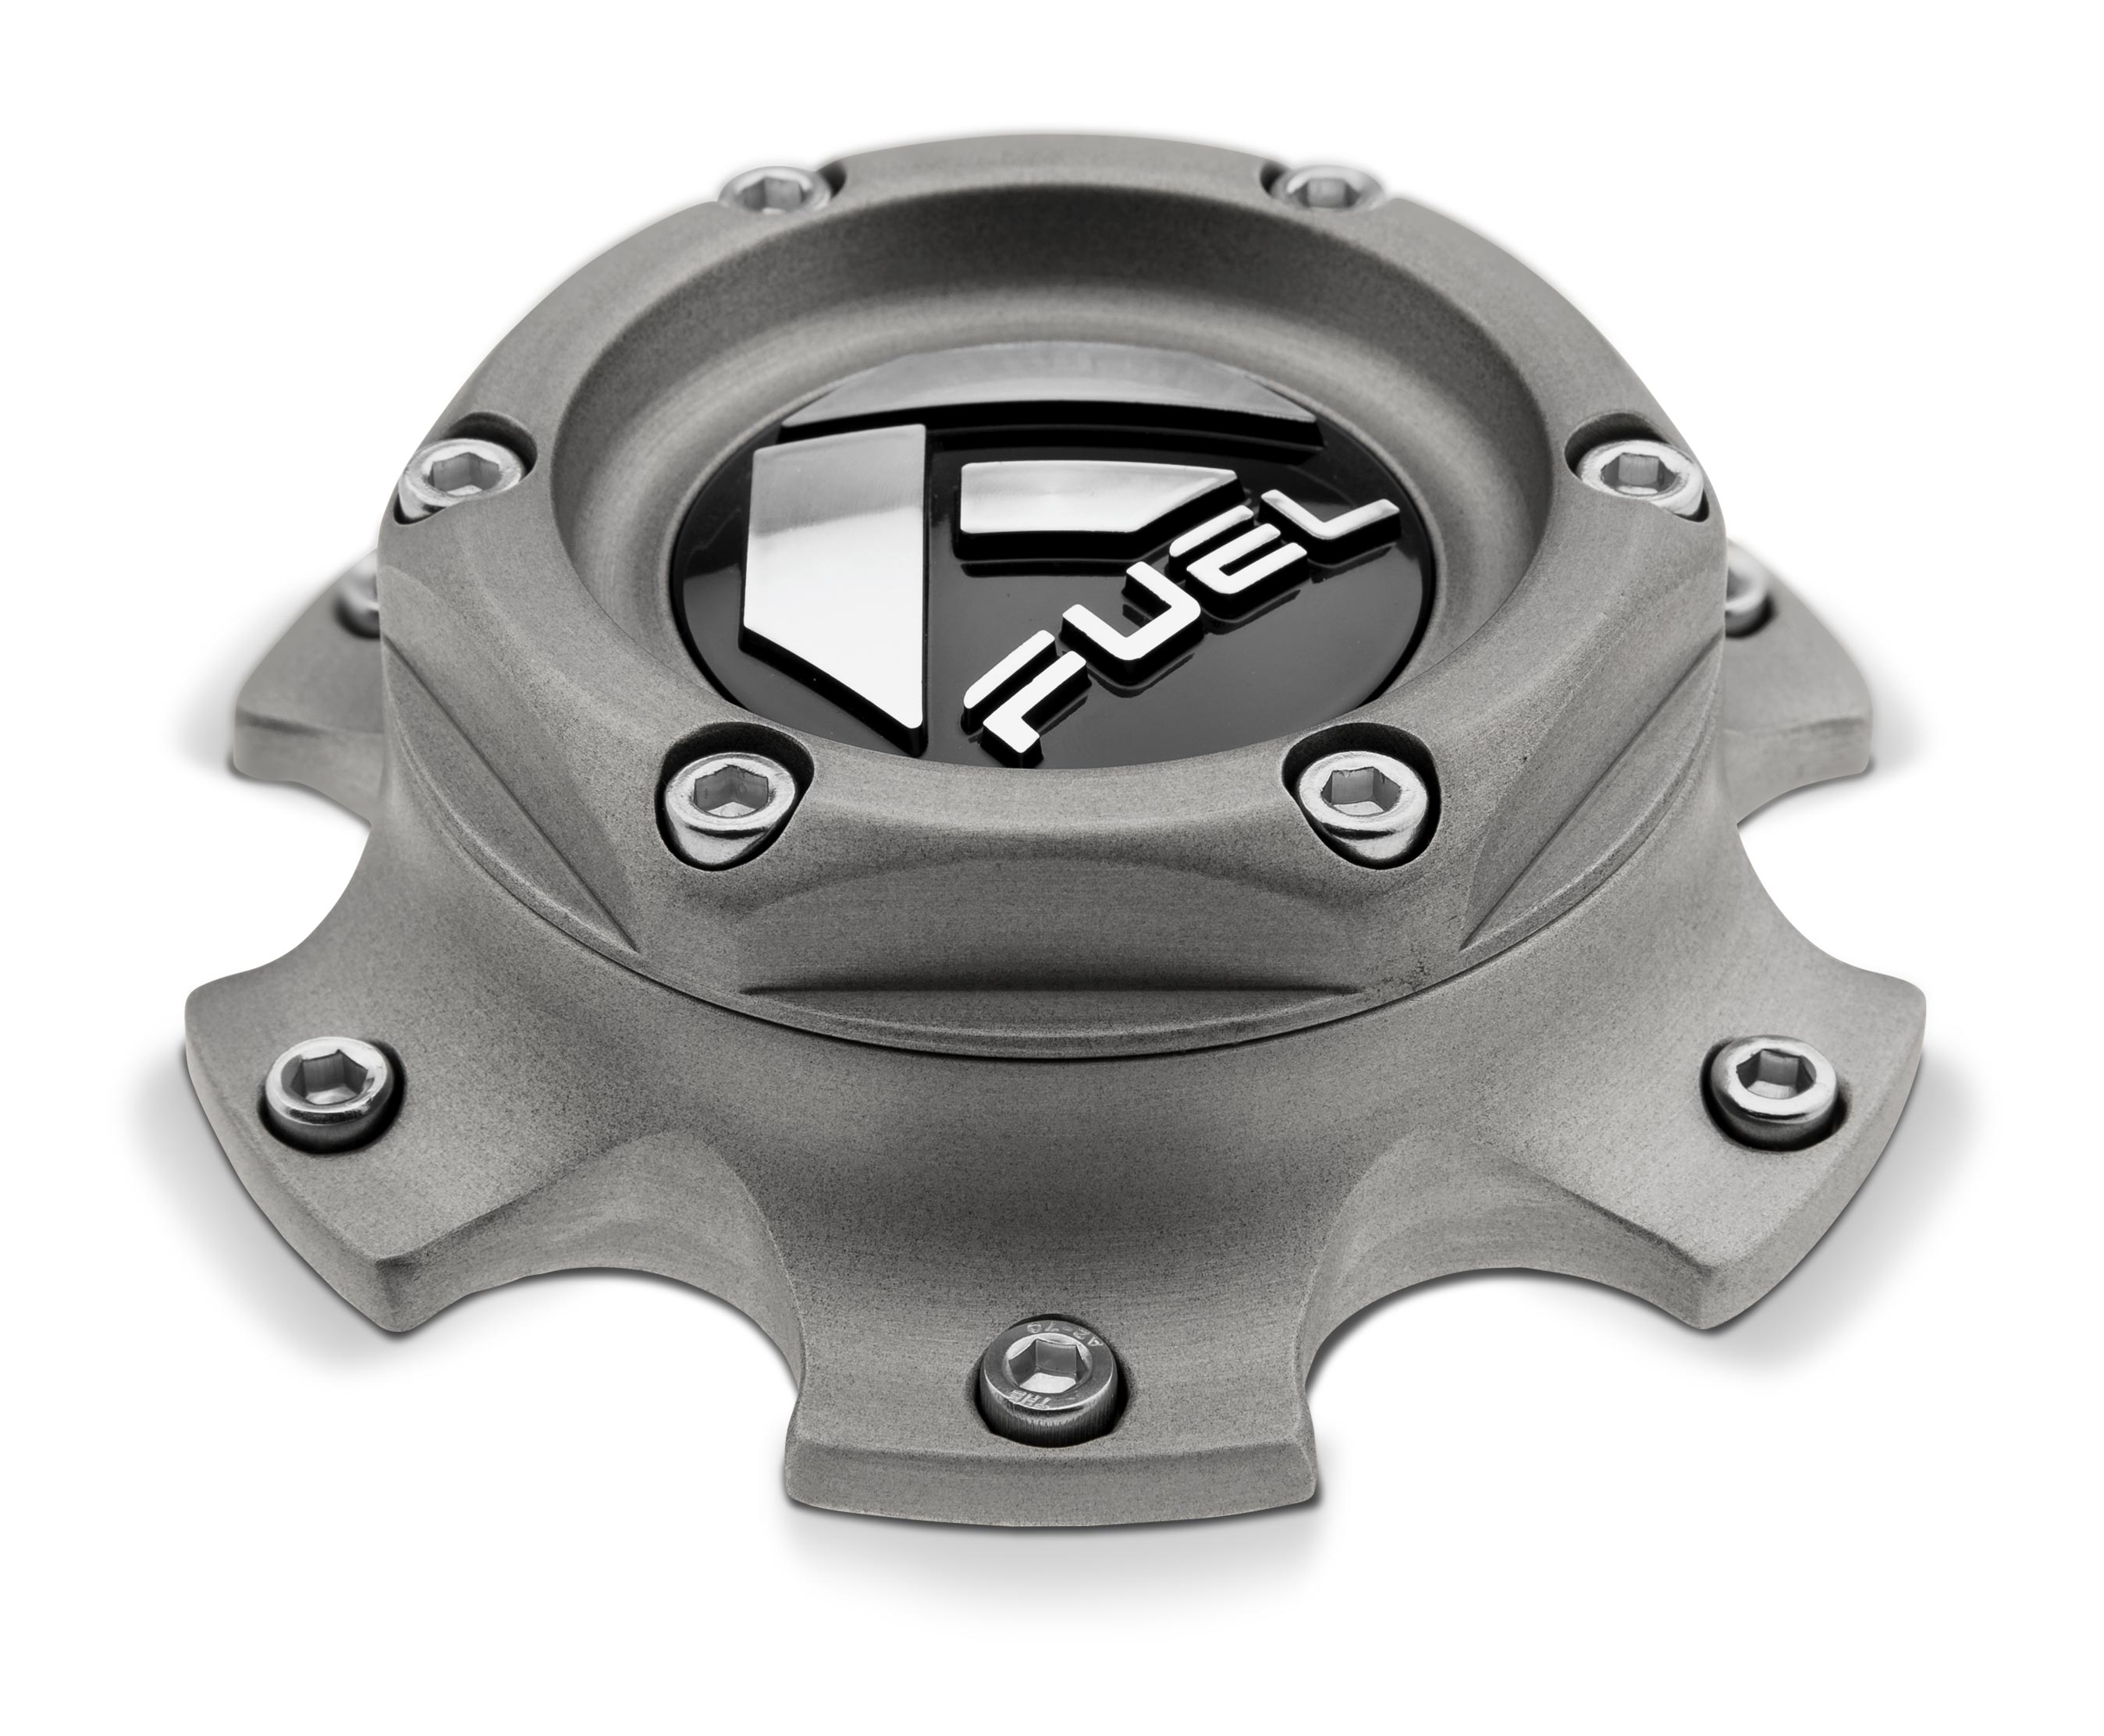
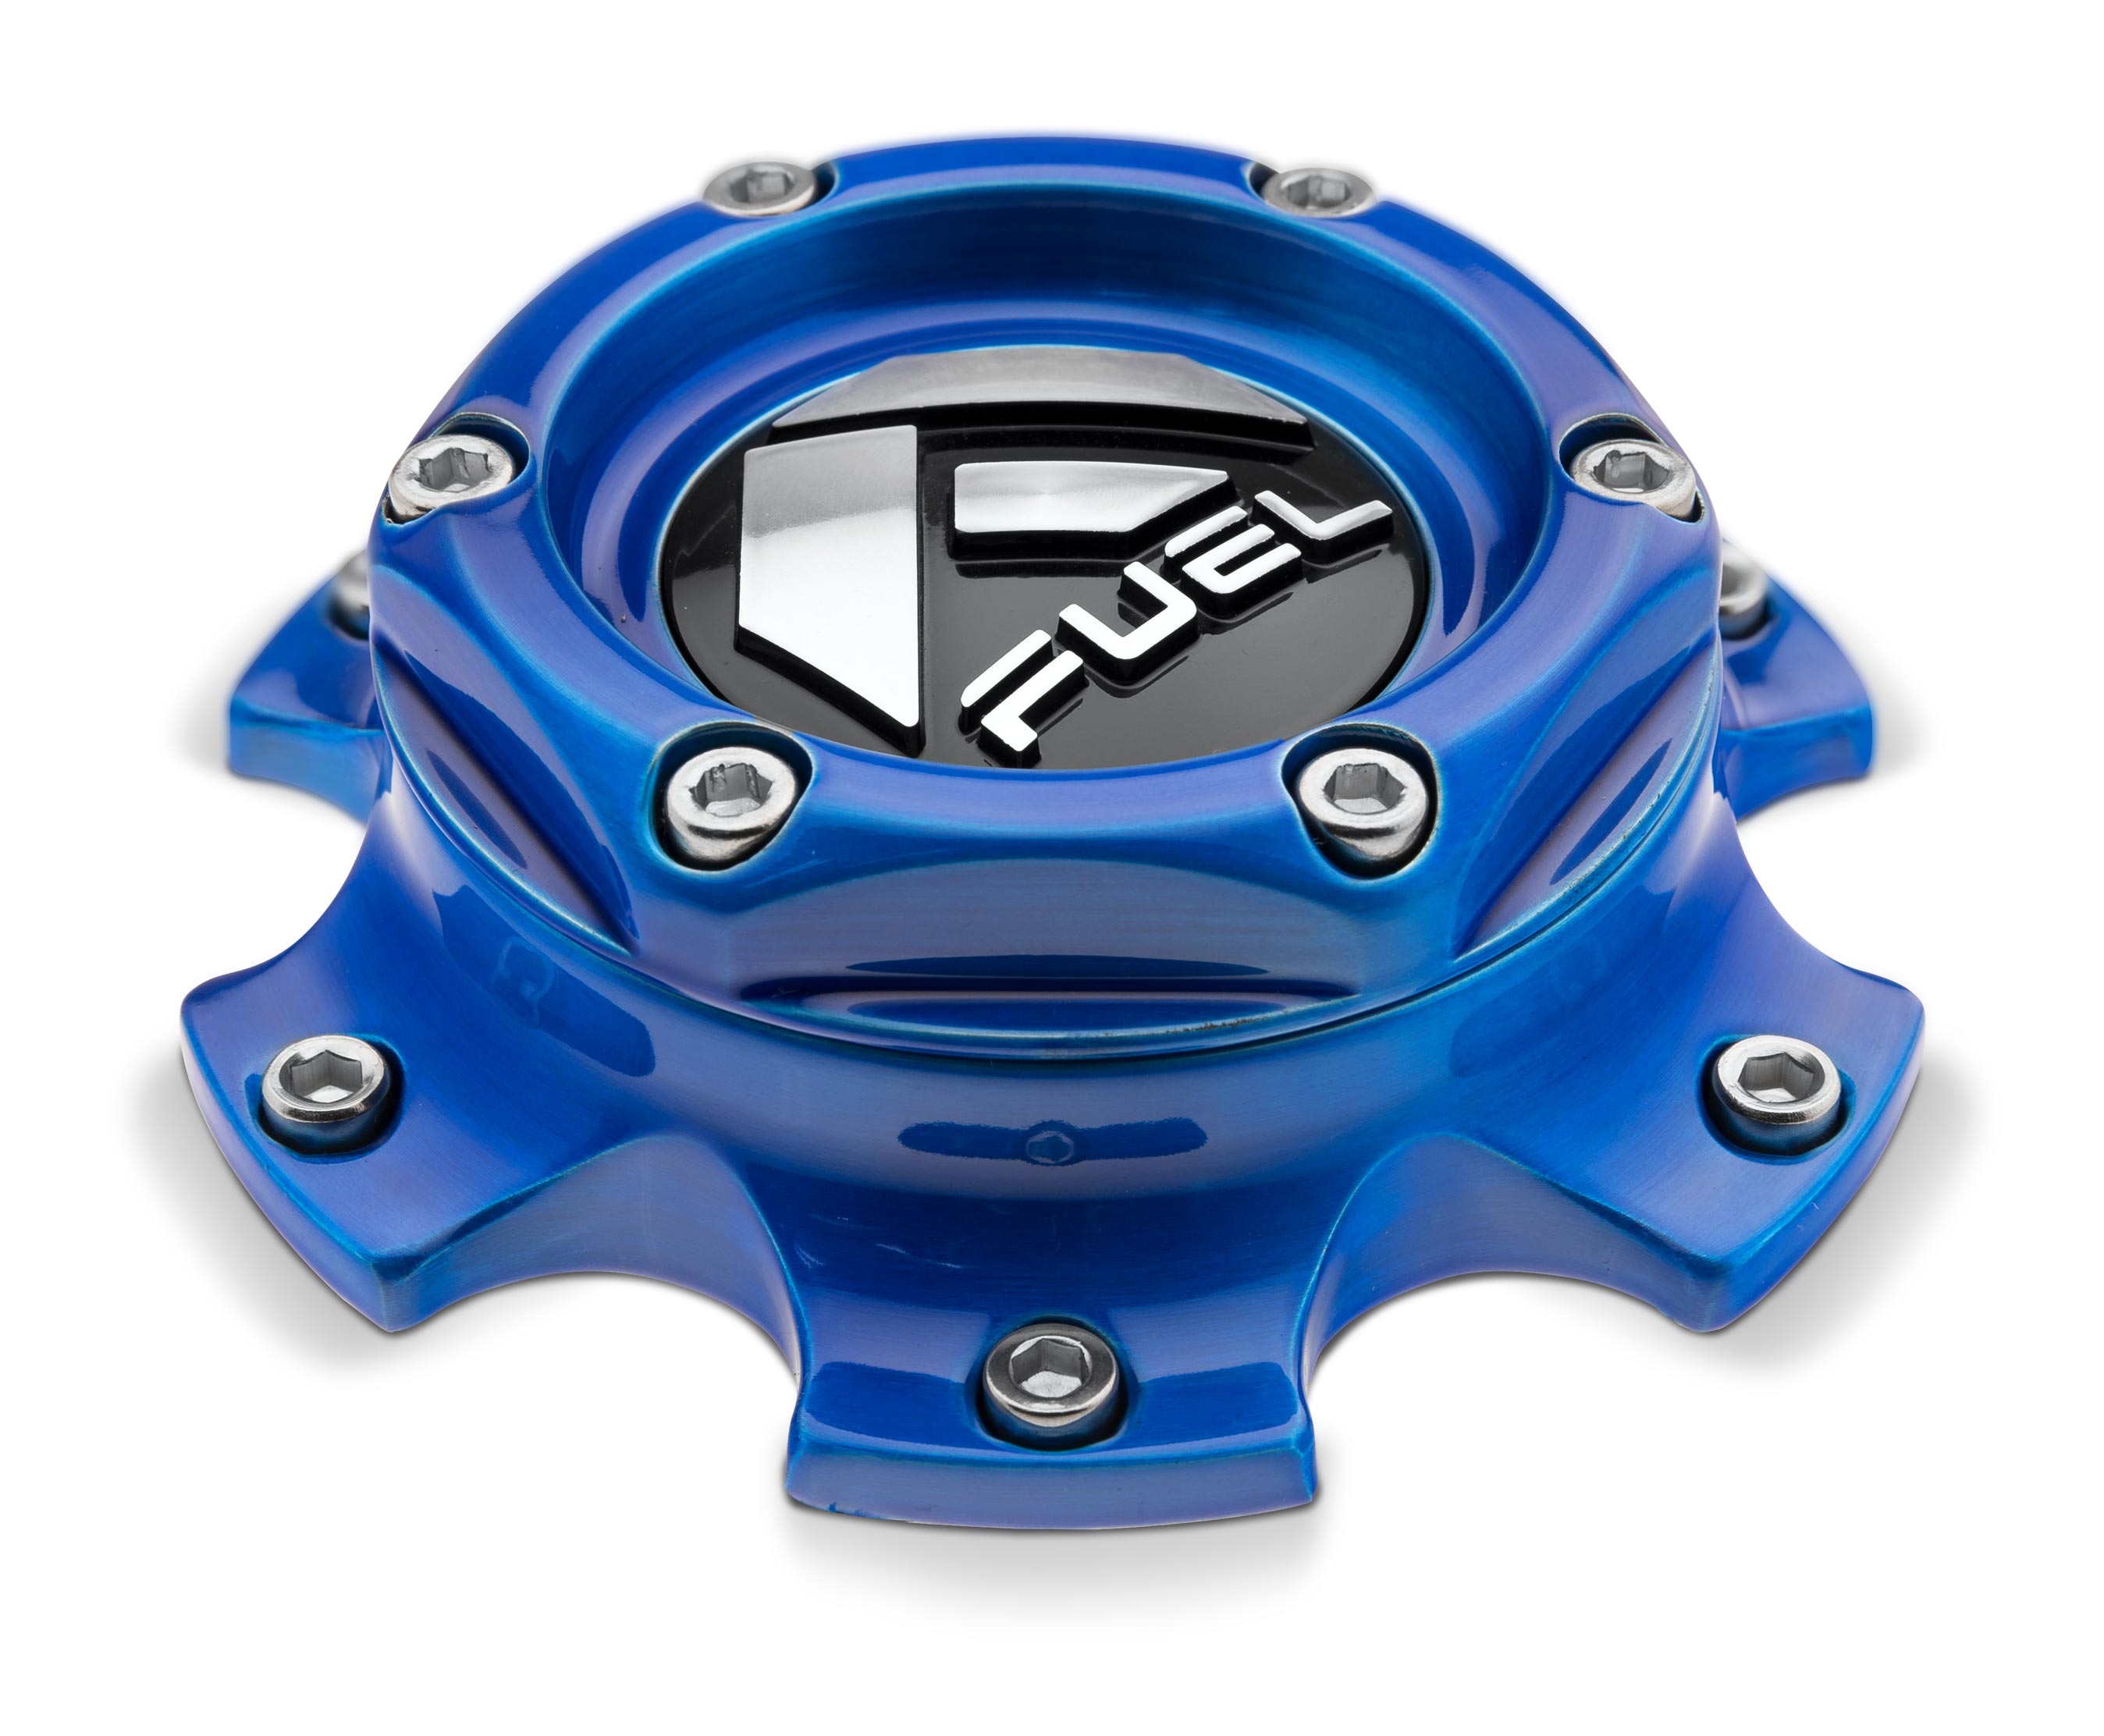
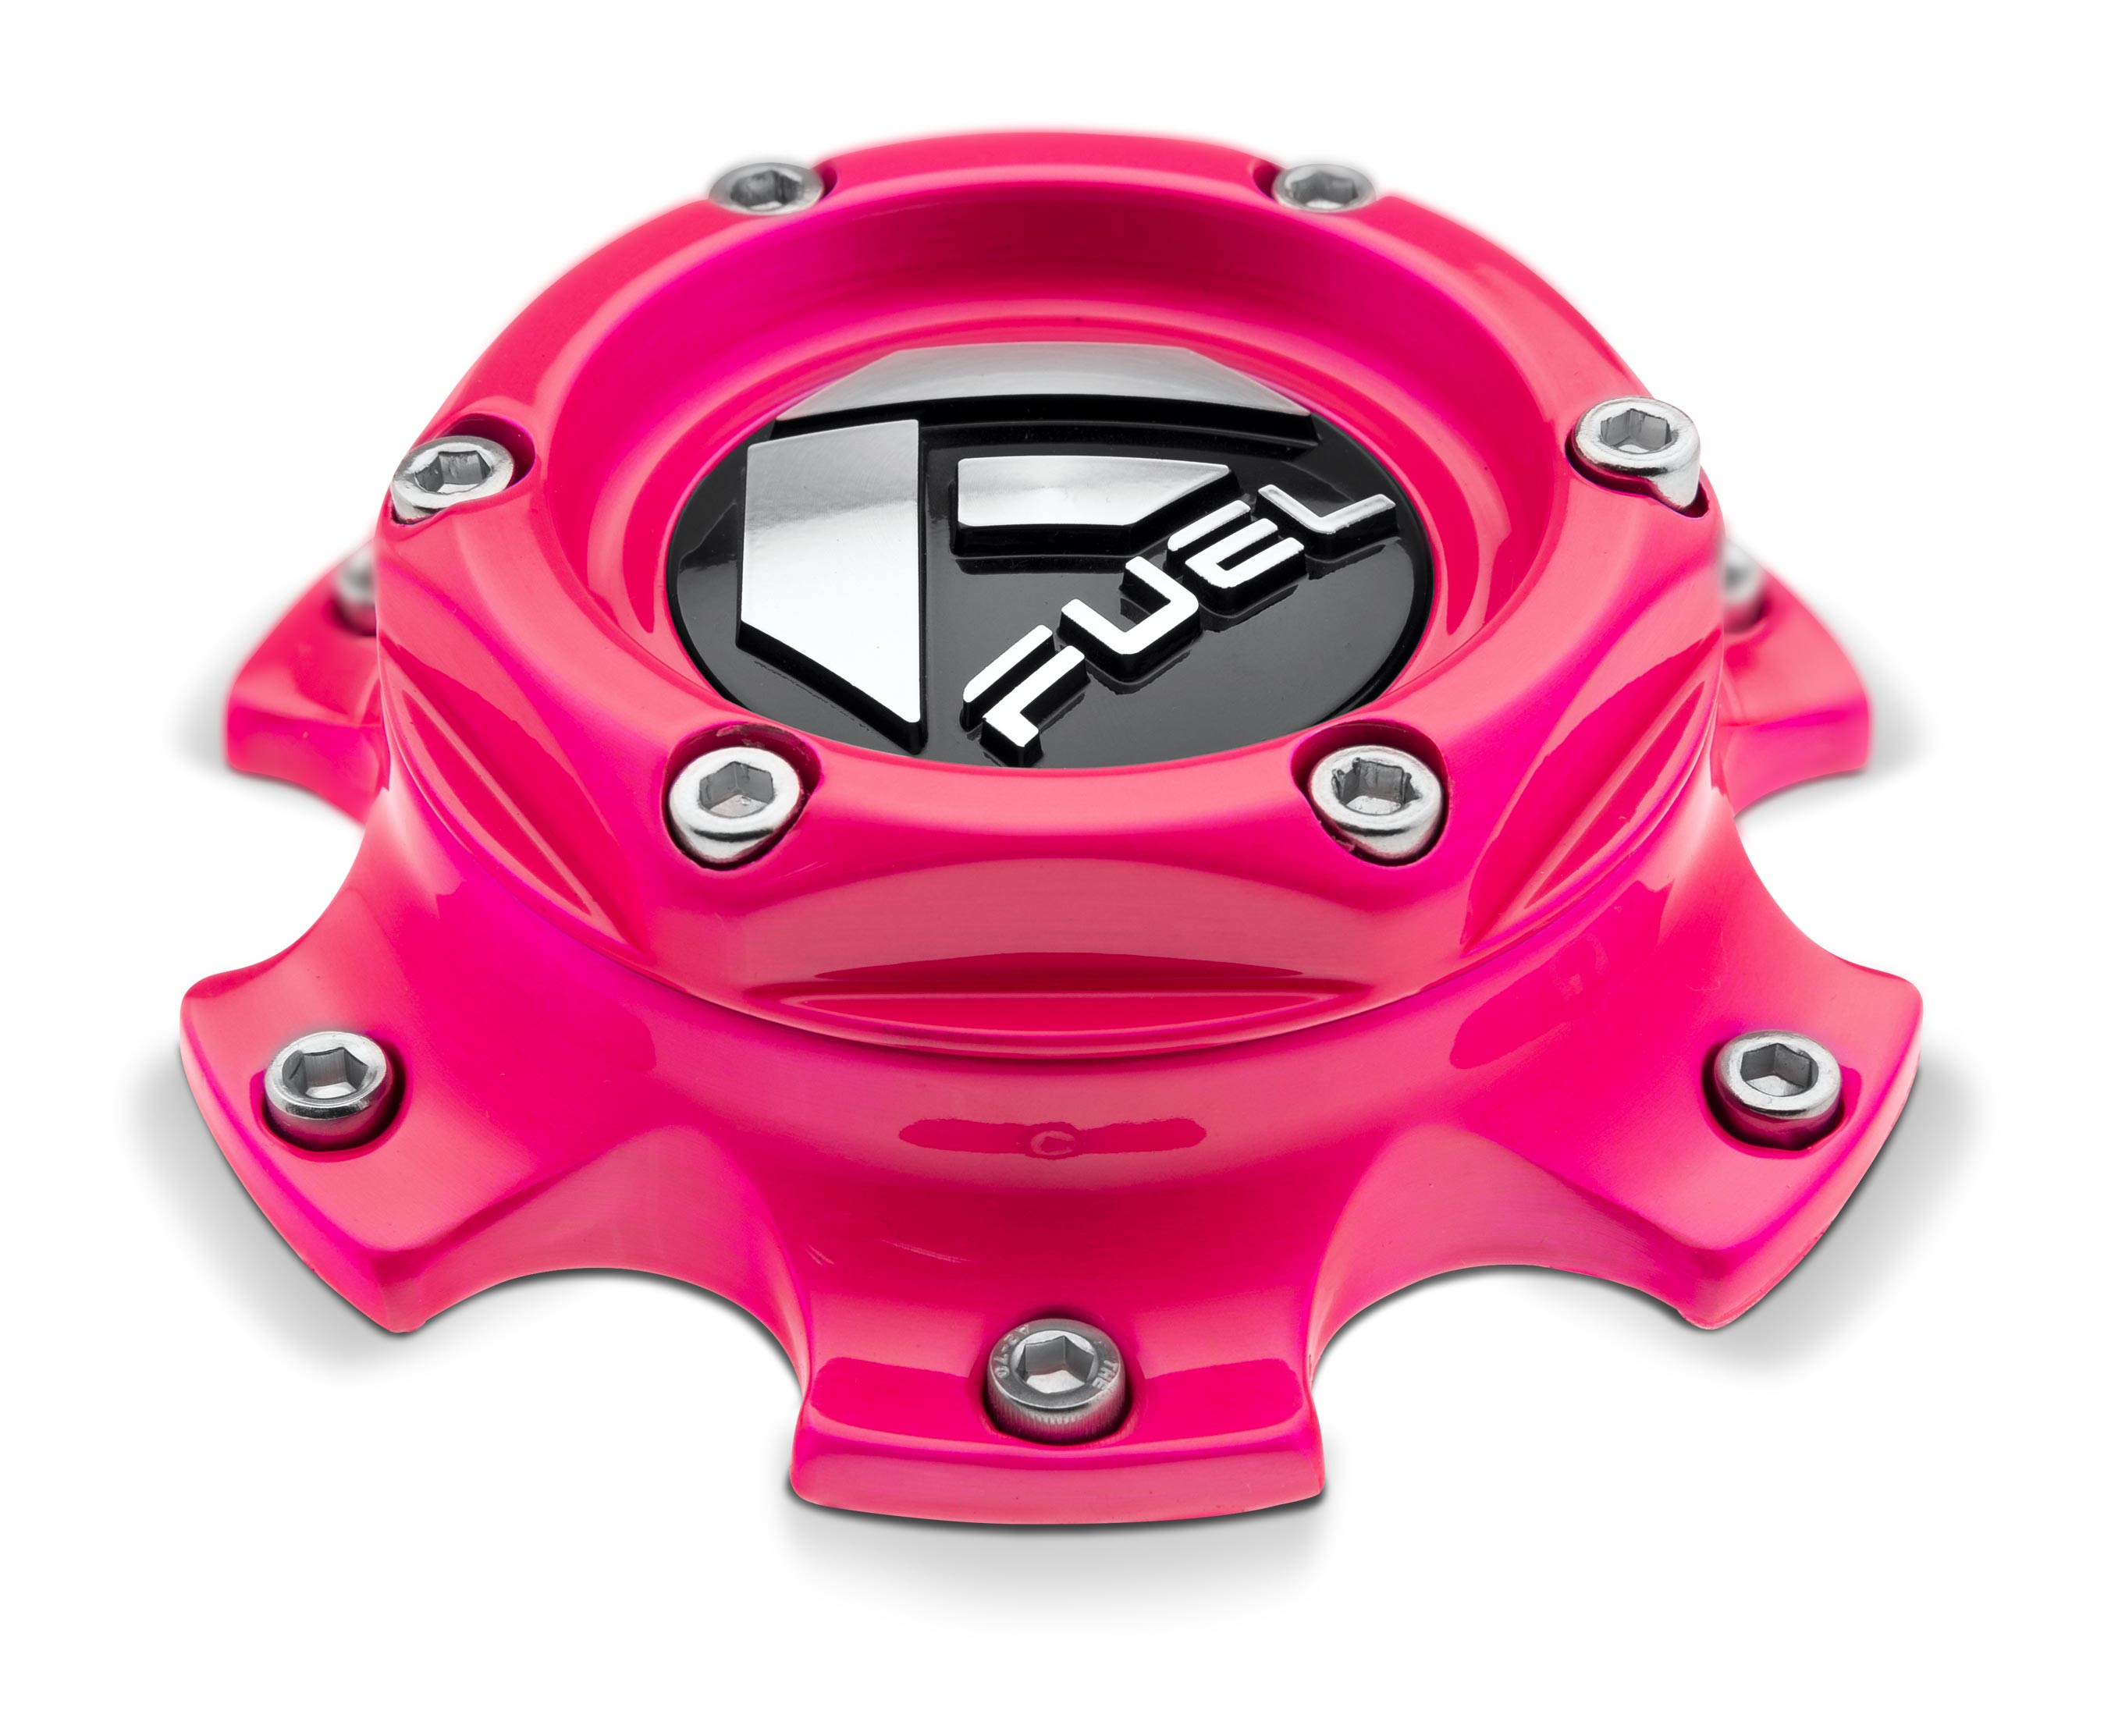
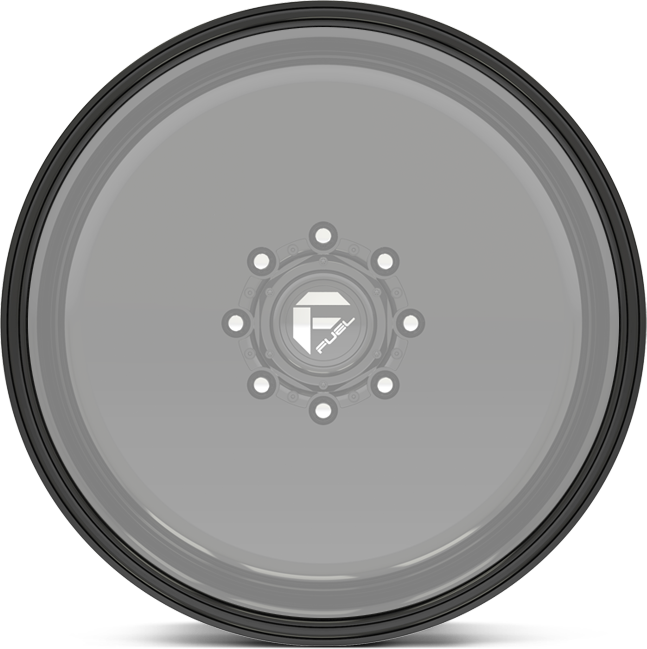
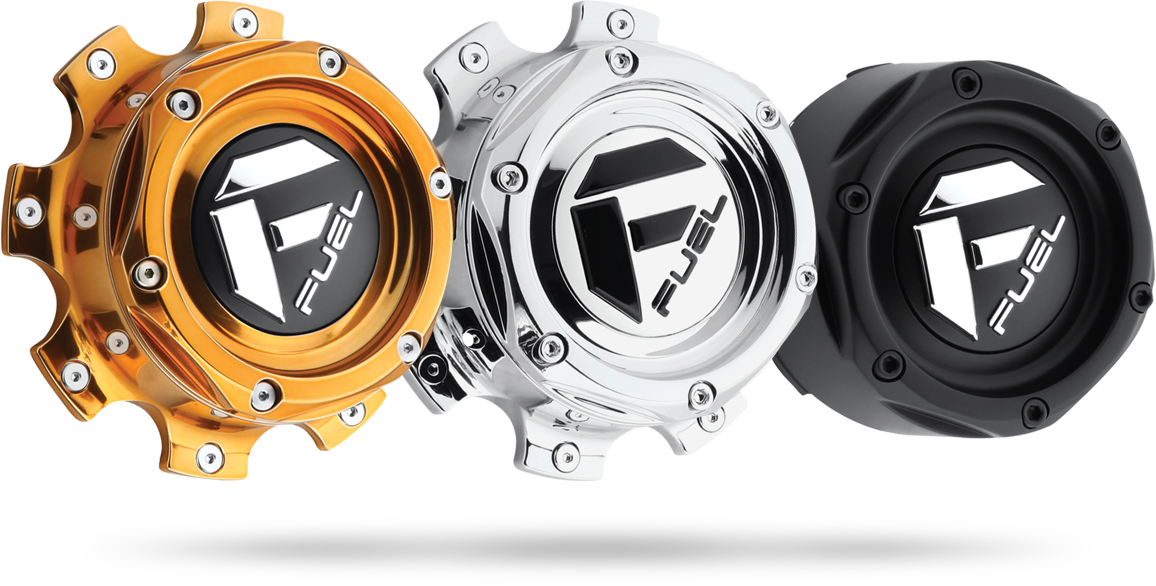
What's a custom wheel without even more options? Fuel Off-Road Forged wheels deliver you limitless color and finish options, choices of numerous lip detail designs and a range of center caps including our customizable billet cap for multiple lug patterns. Choices.
finishes.
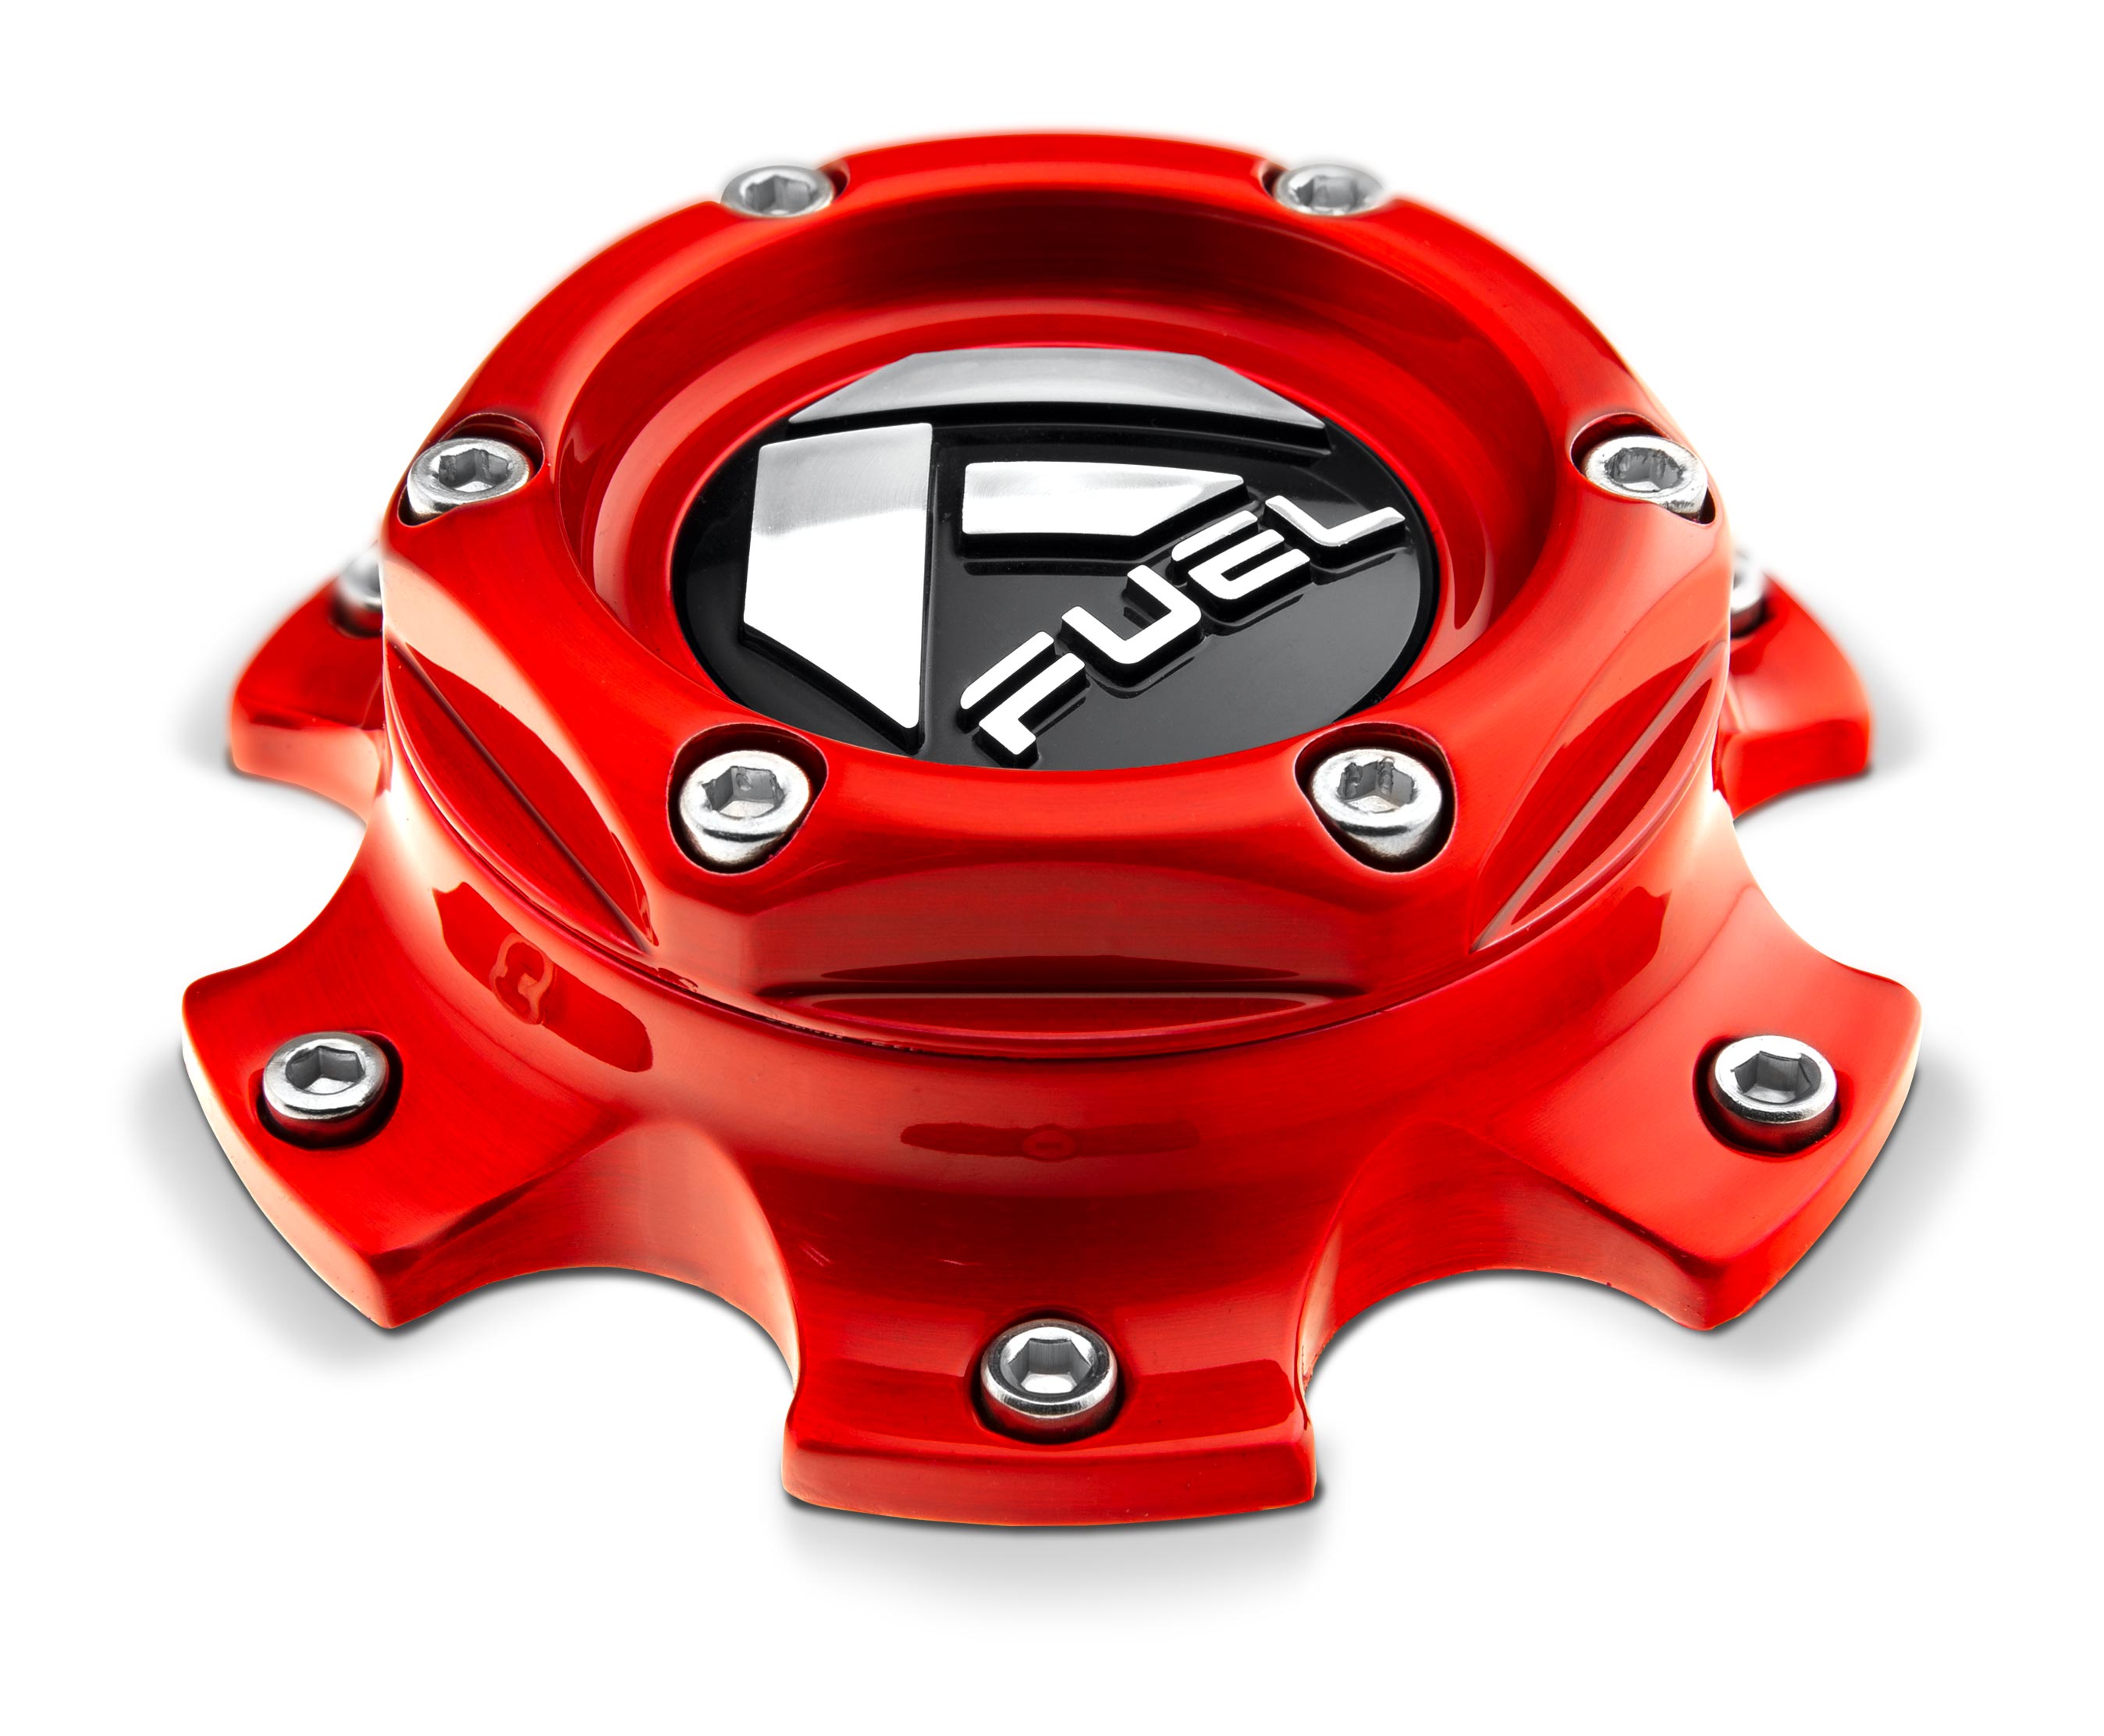
Here's a sampling of our more popular finishes. Of course, the possibilities are endless.
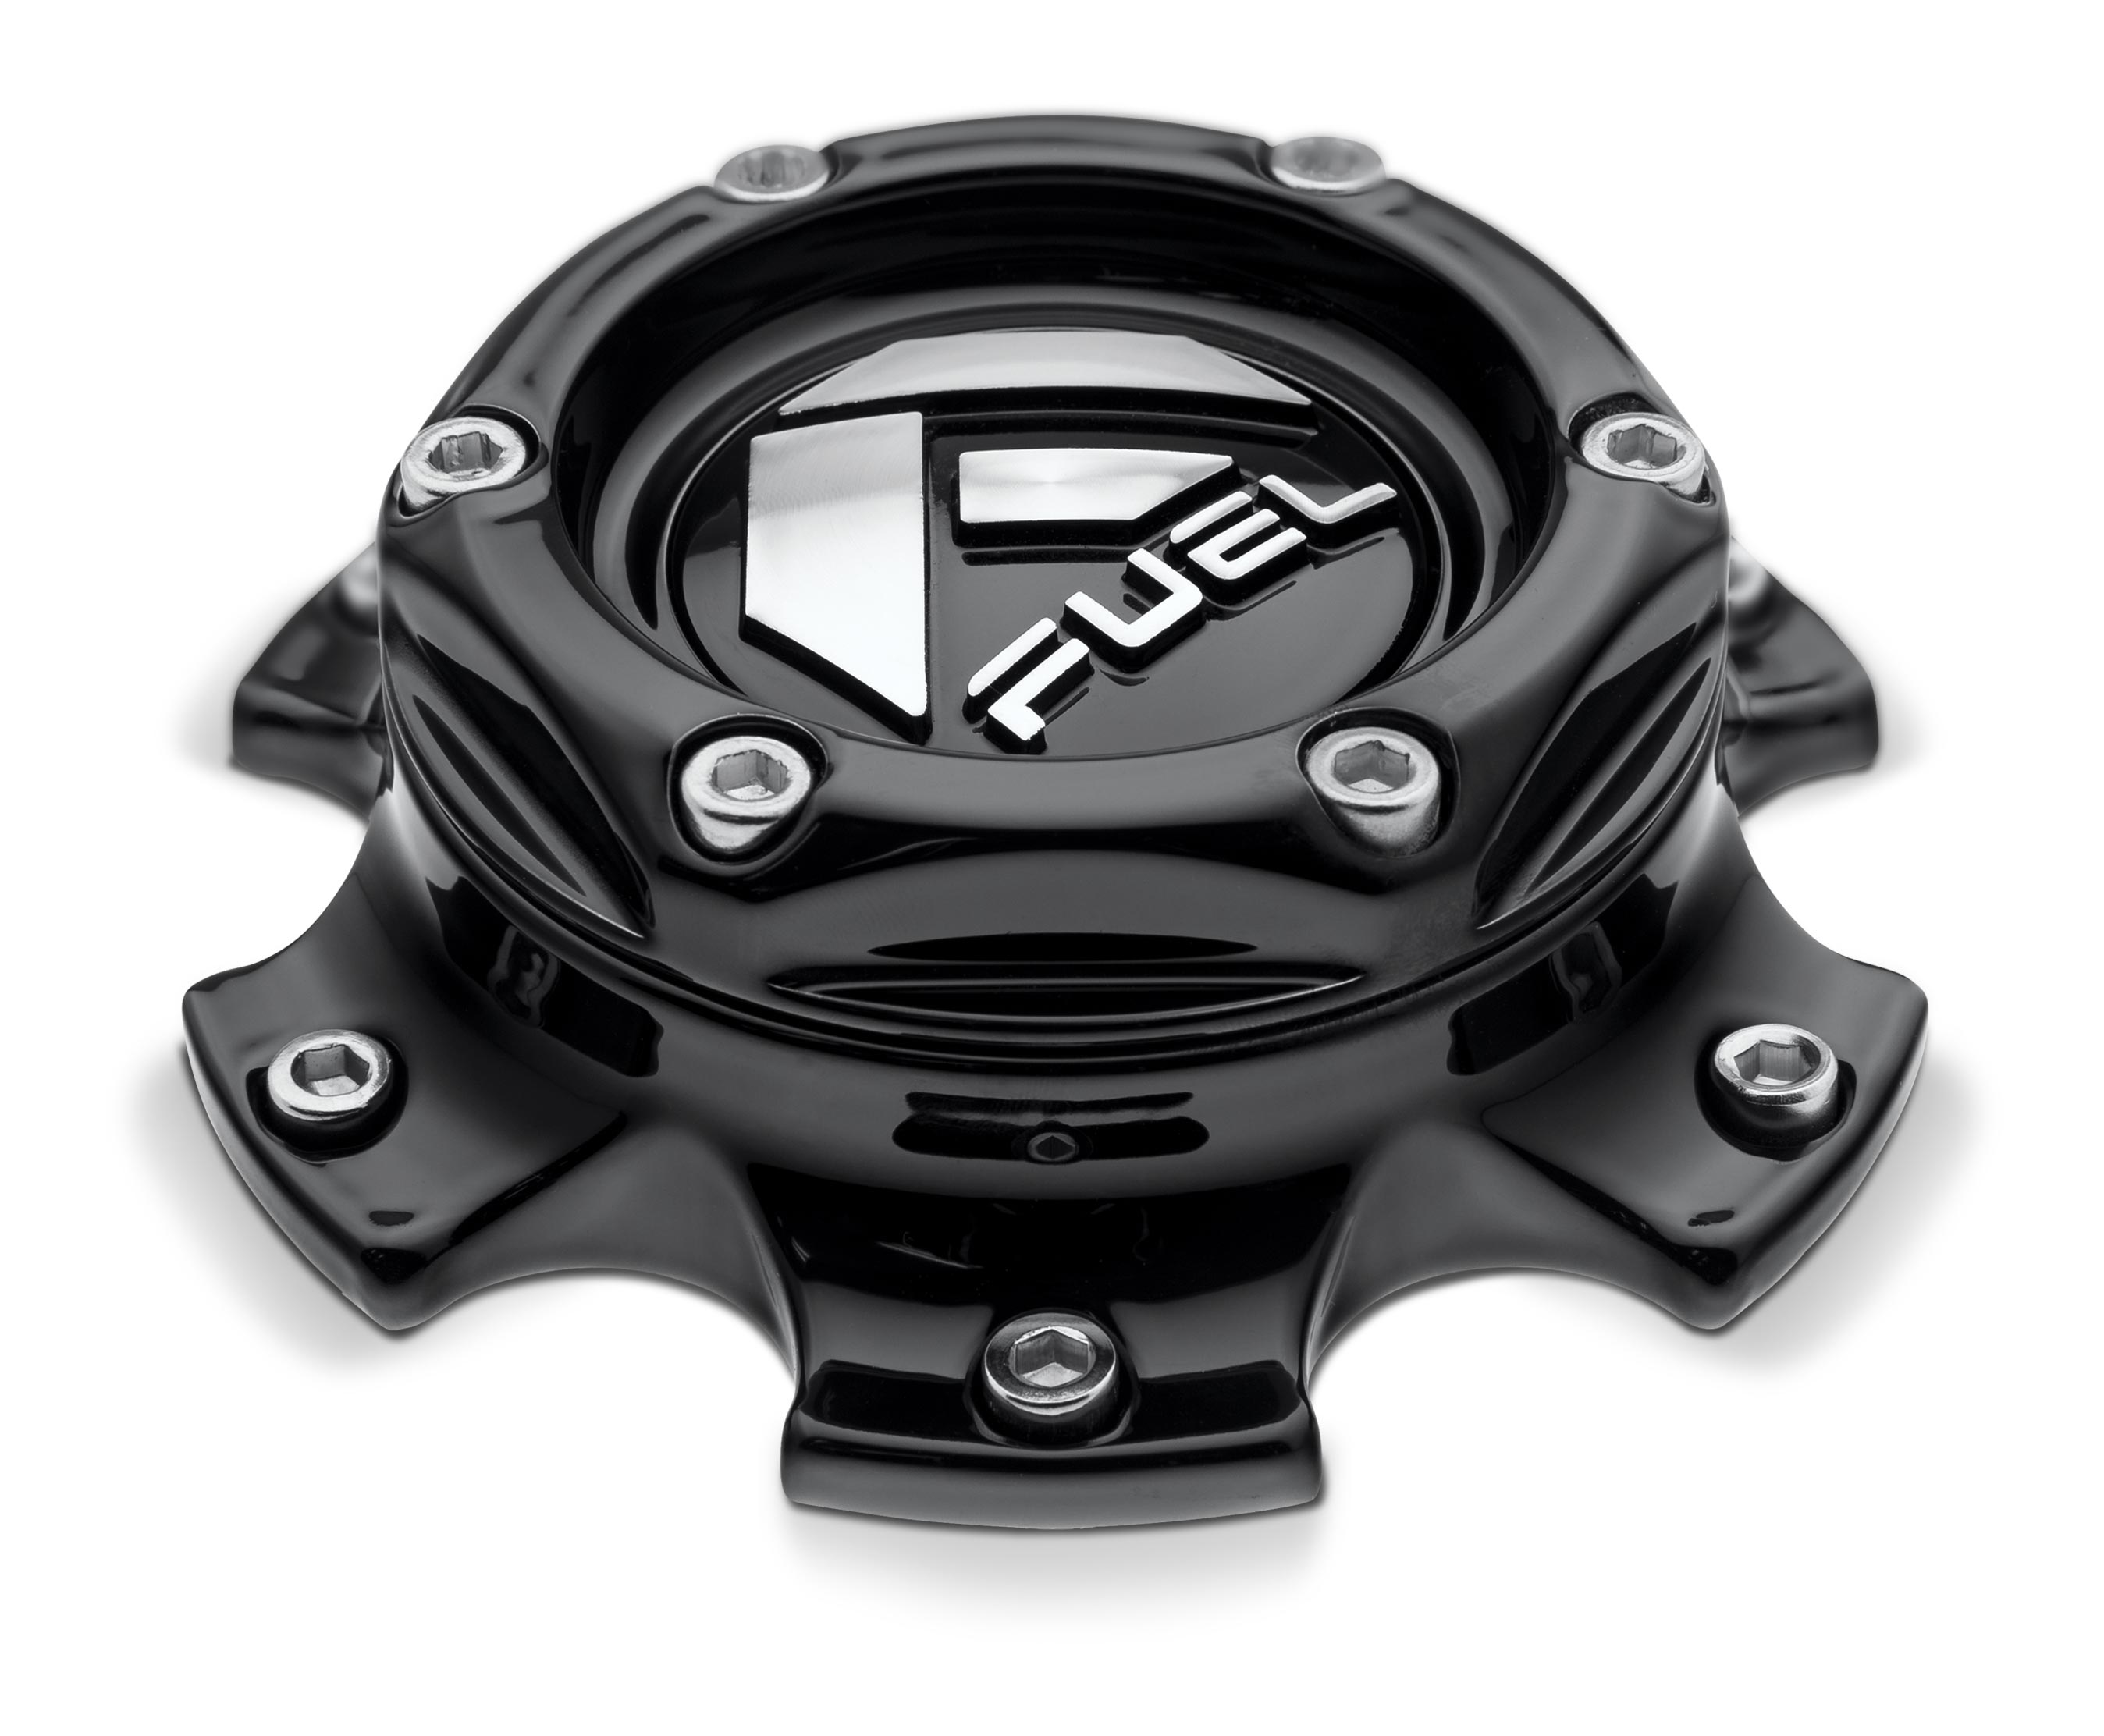
/ gloss black
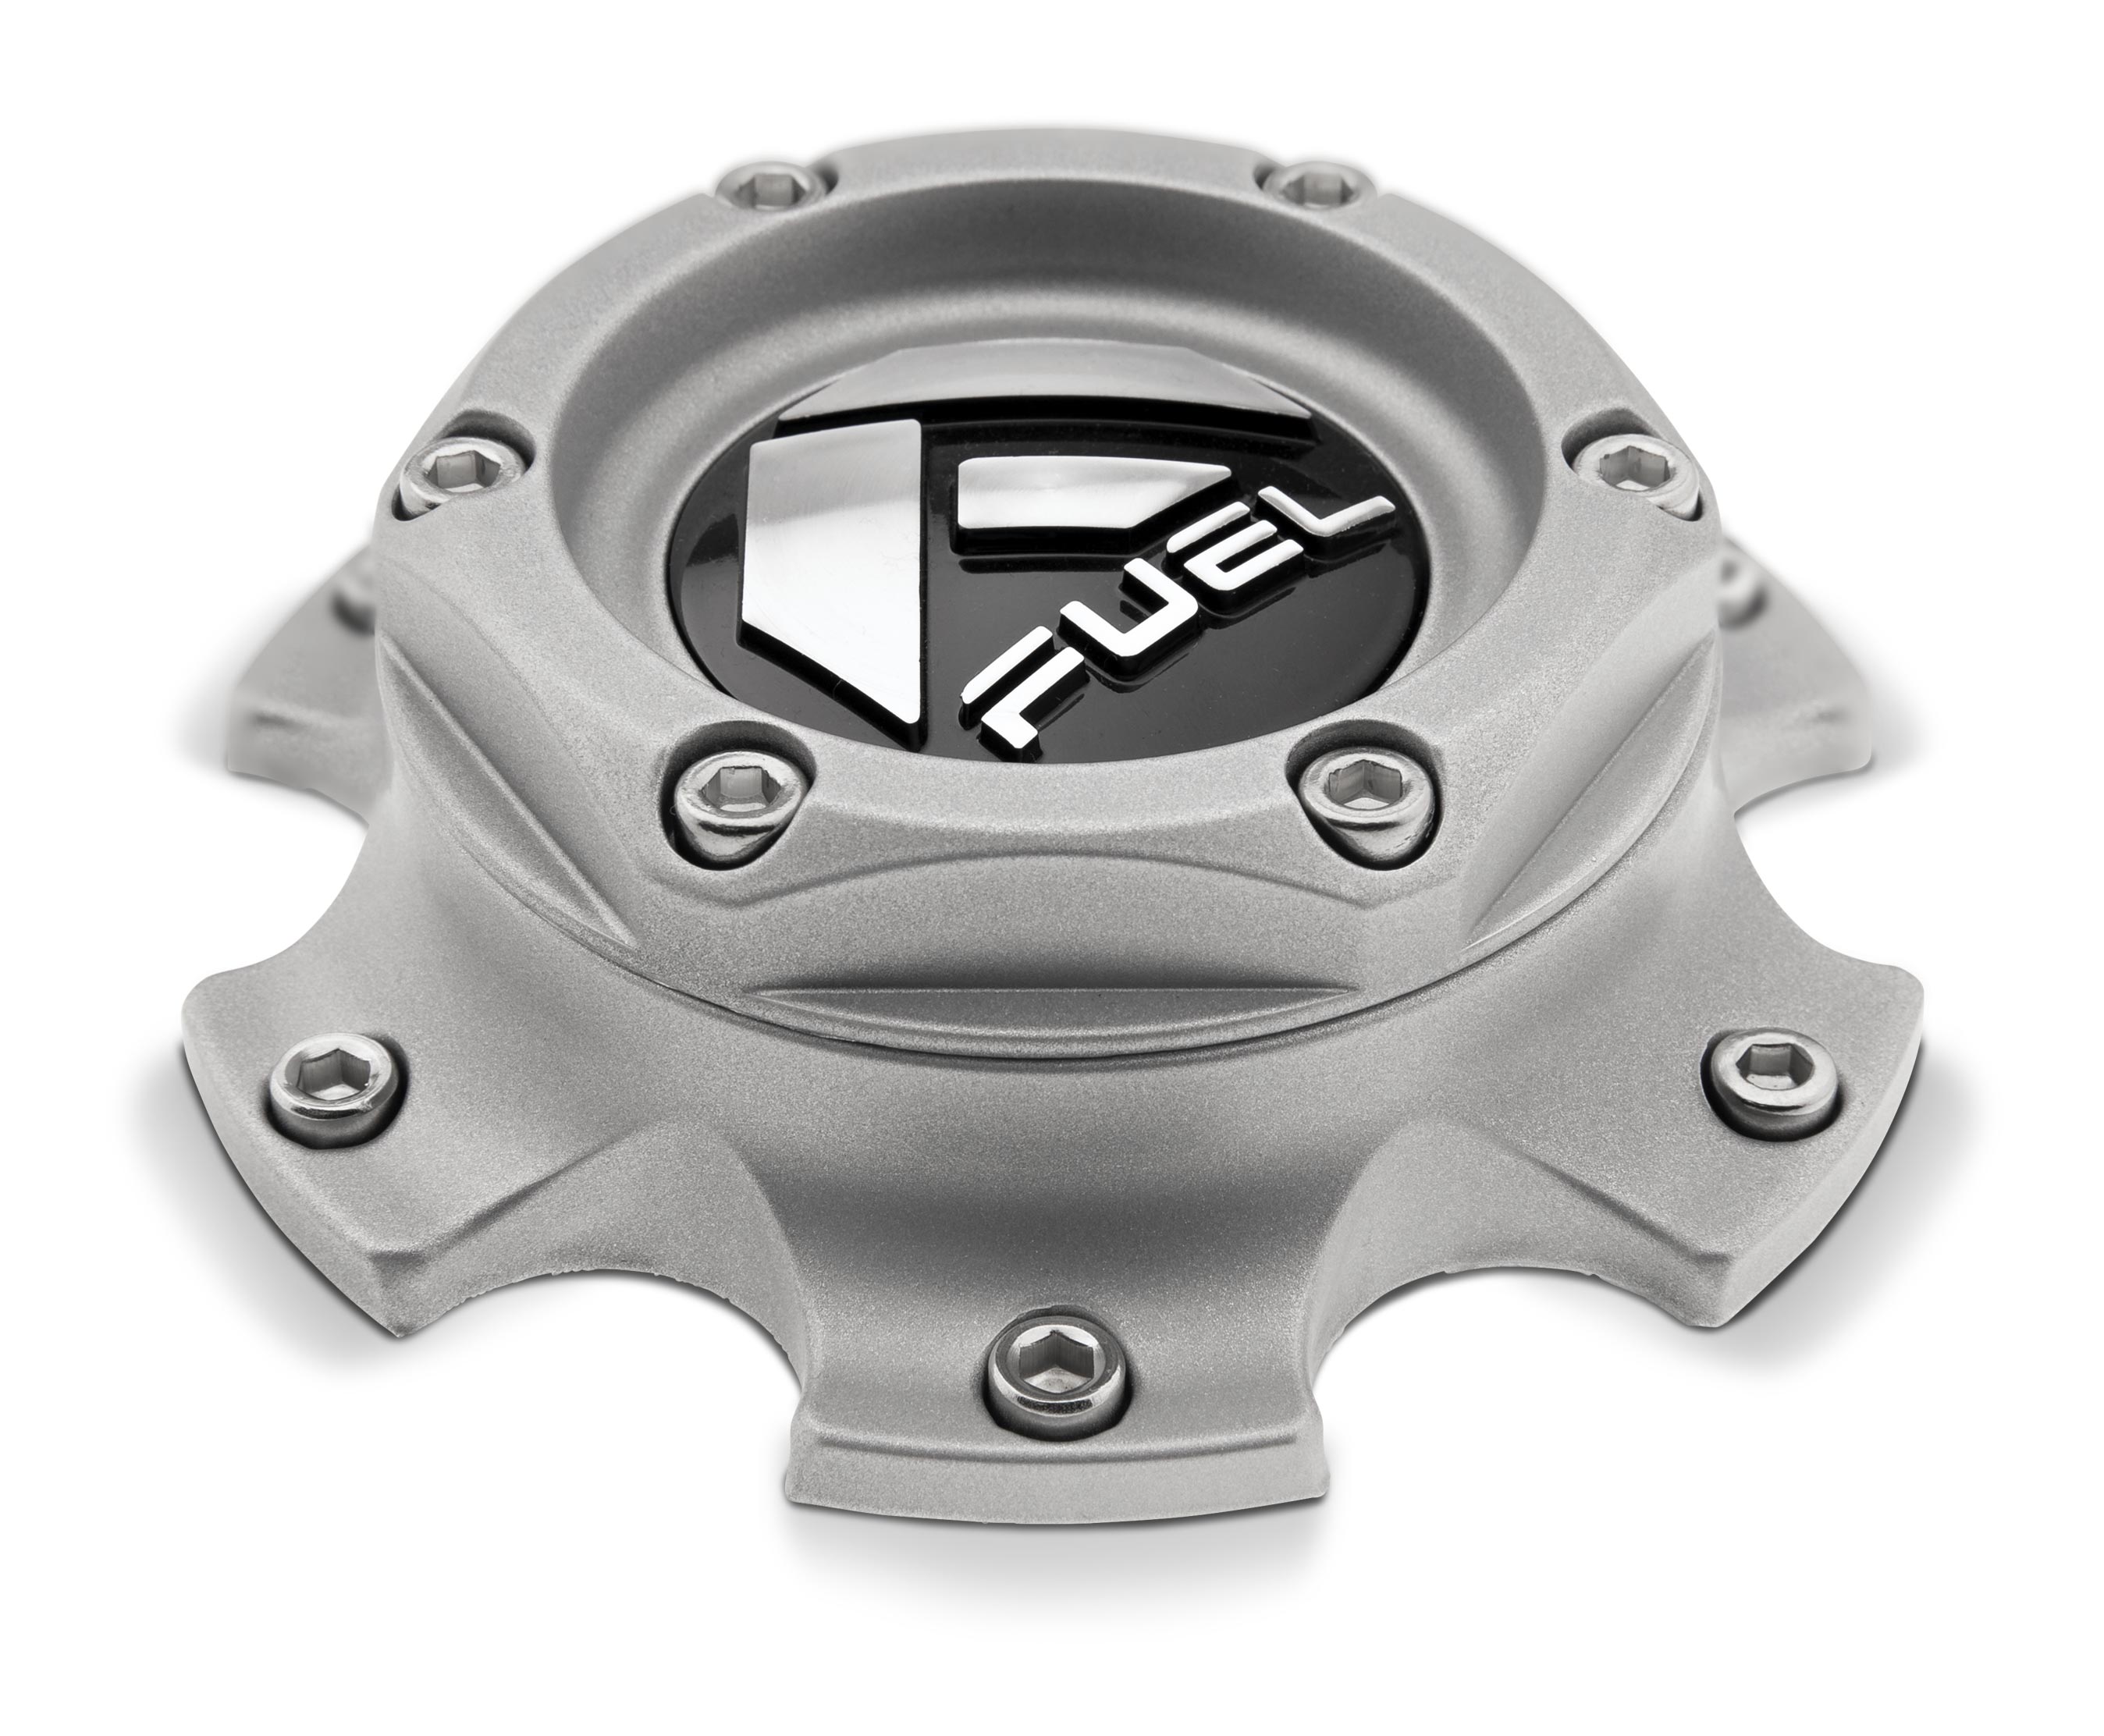
/ matte silver
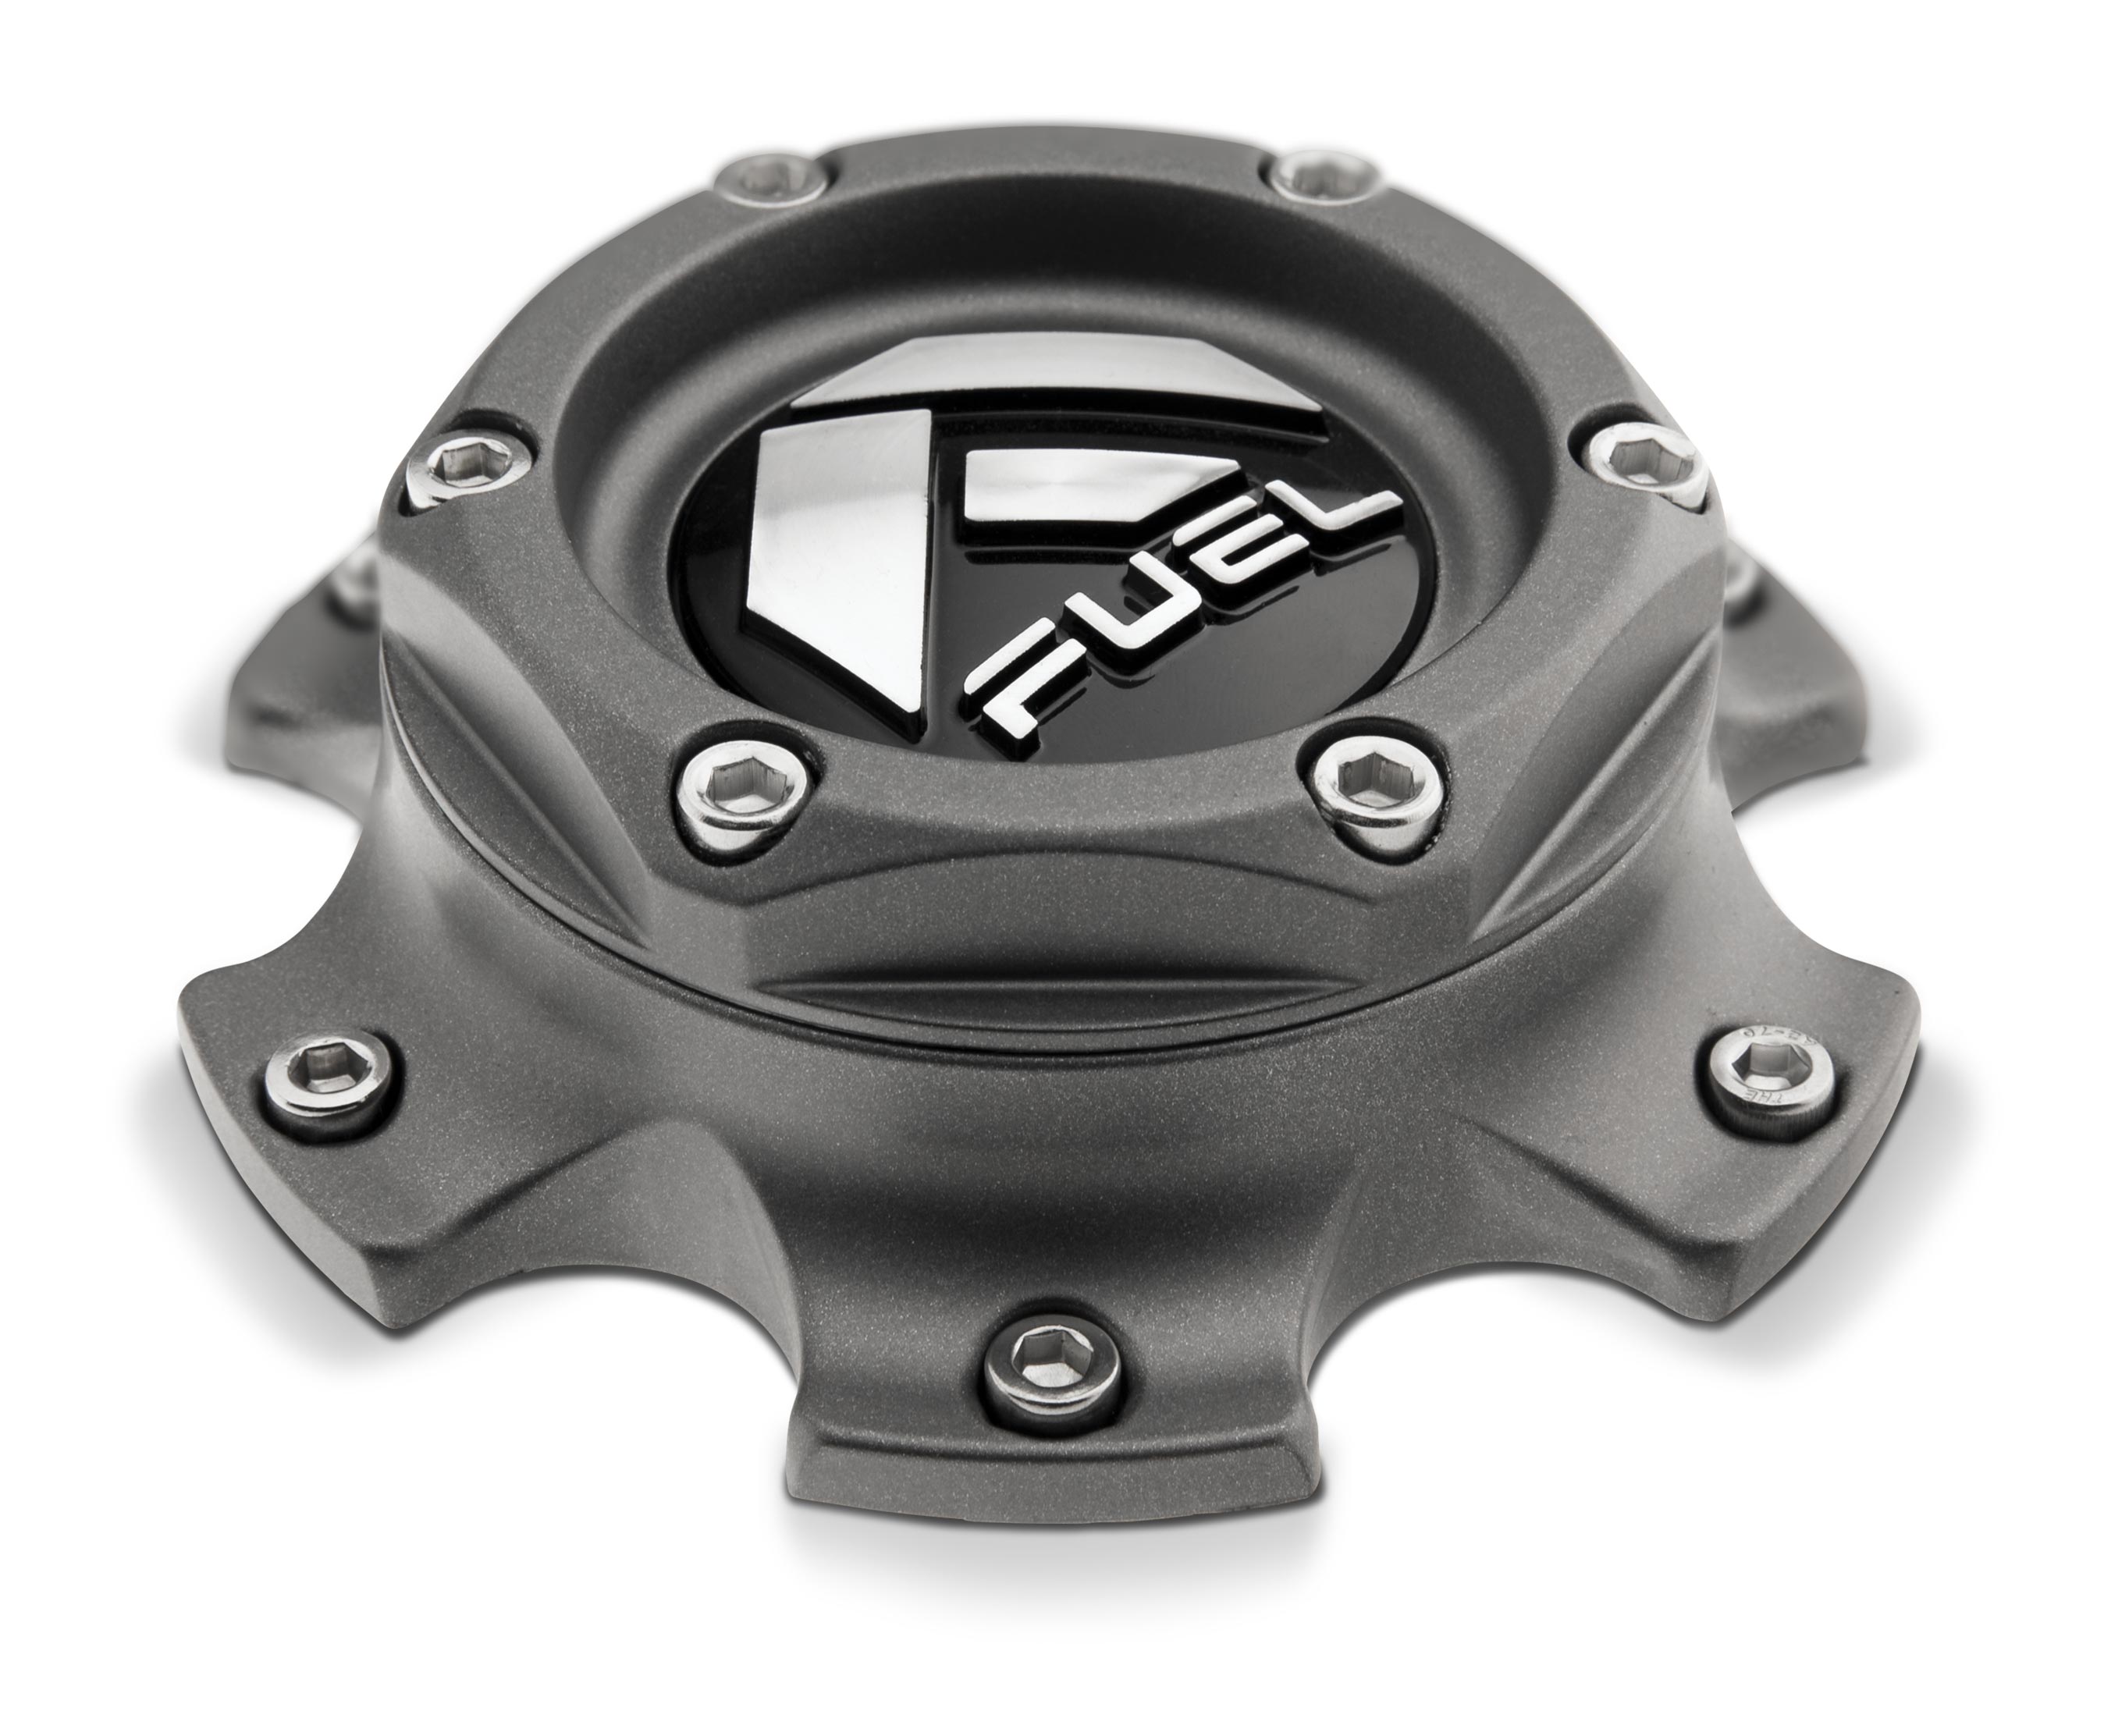
/ matte anthracite
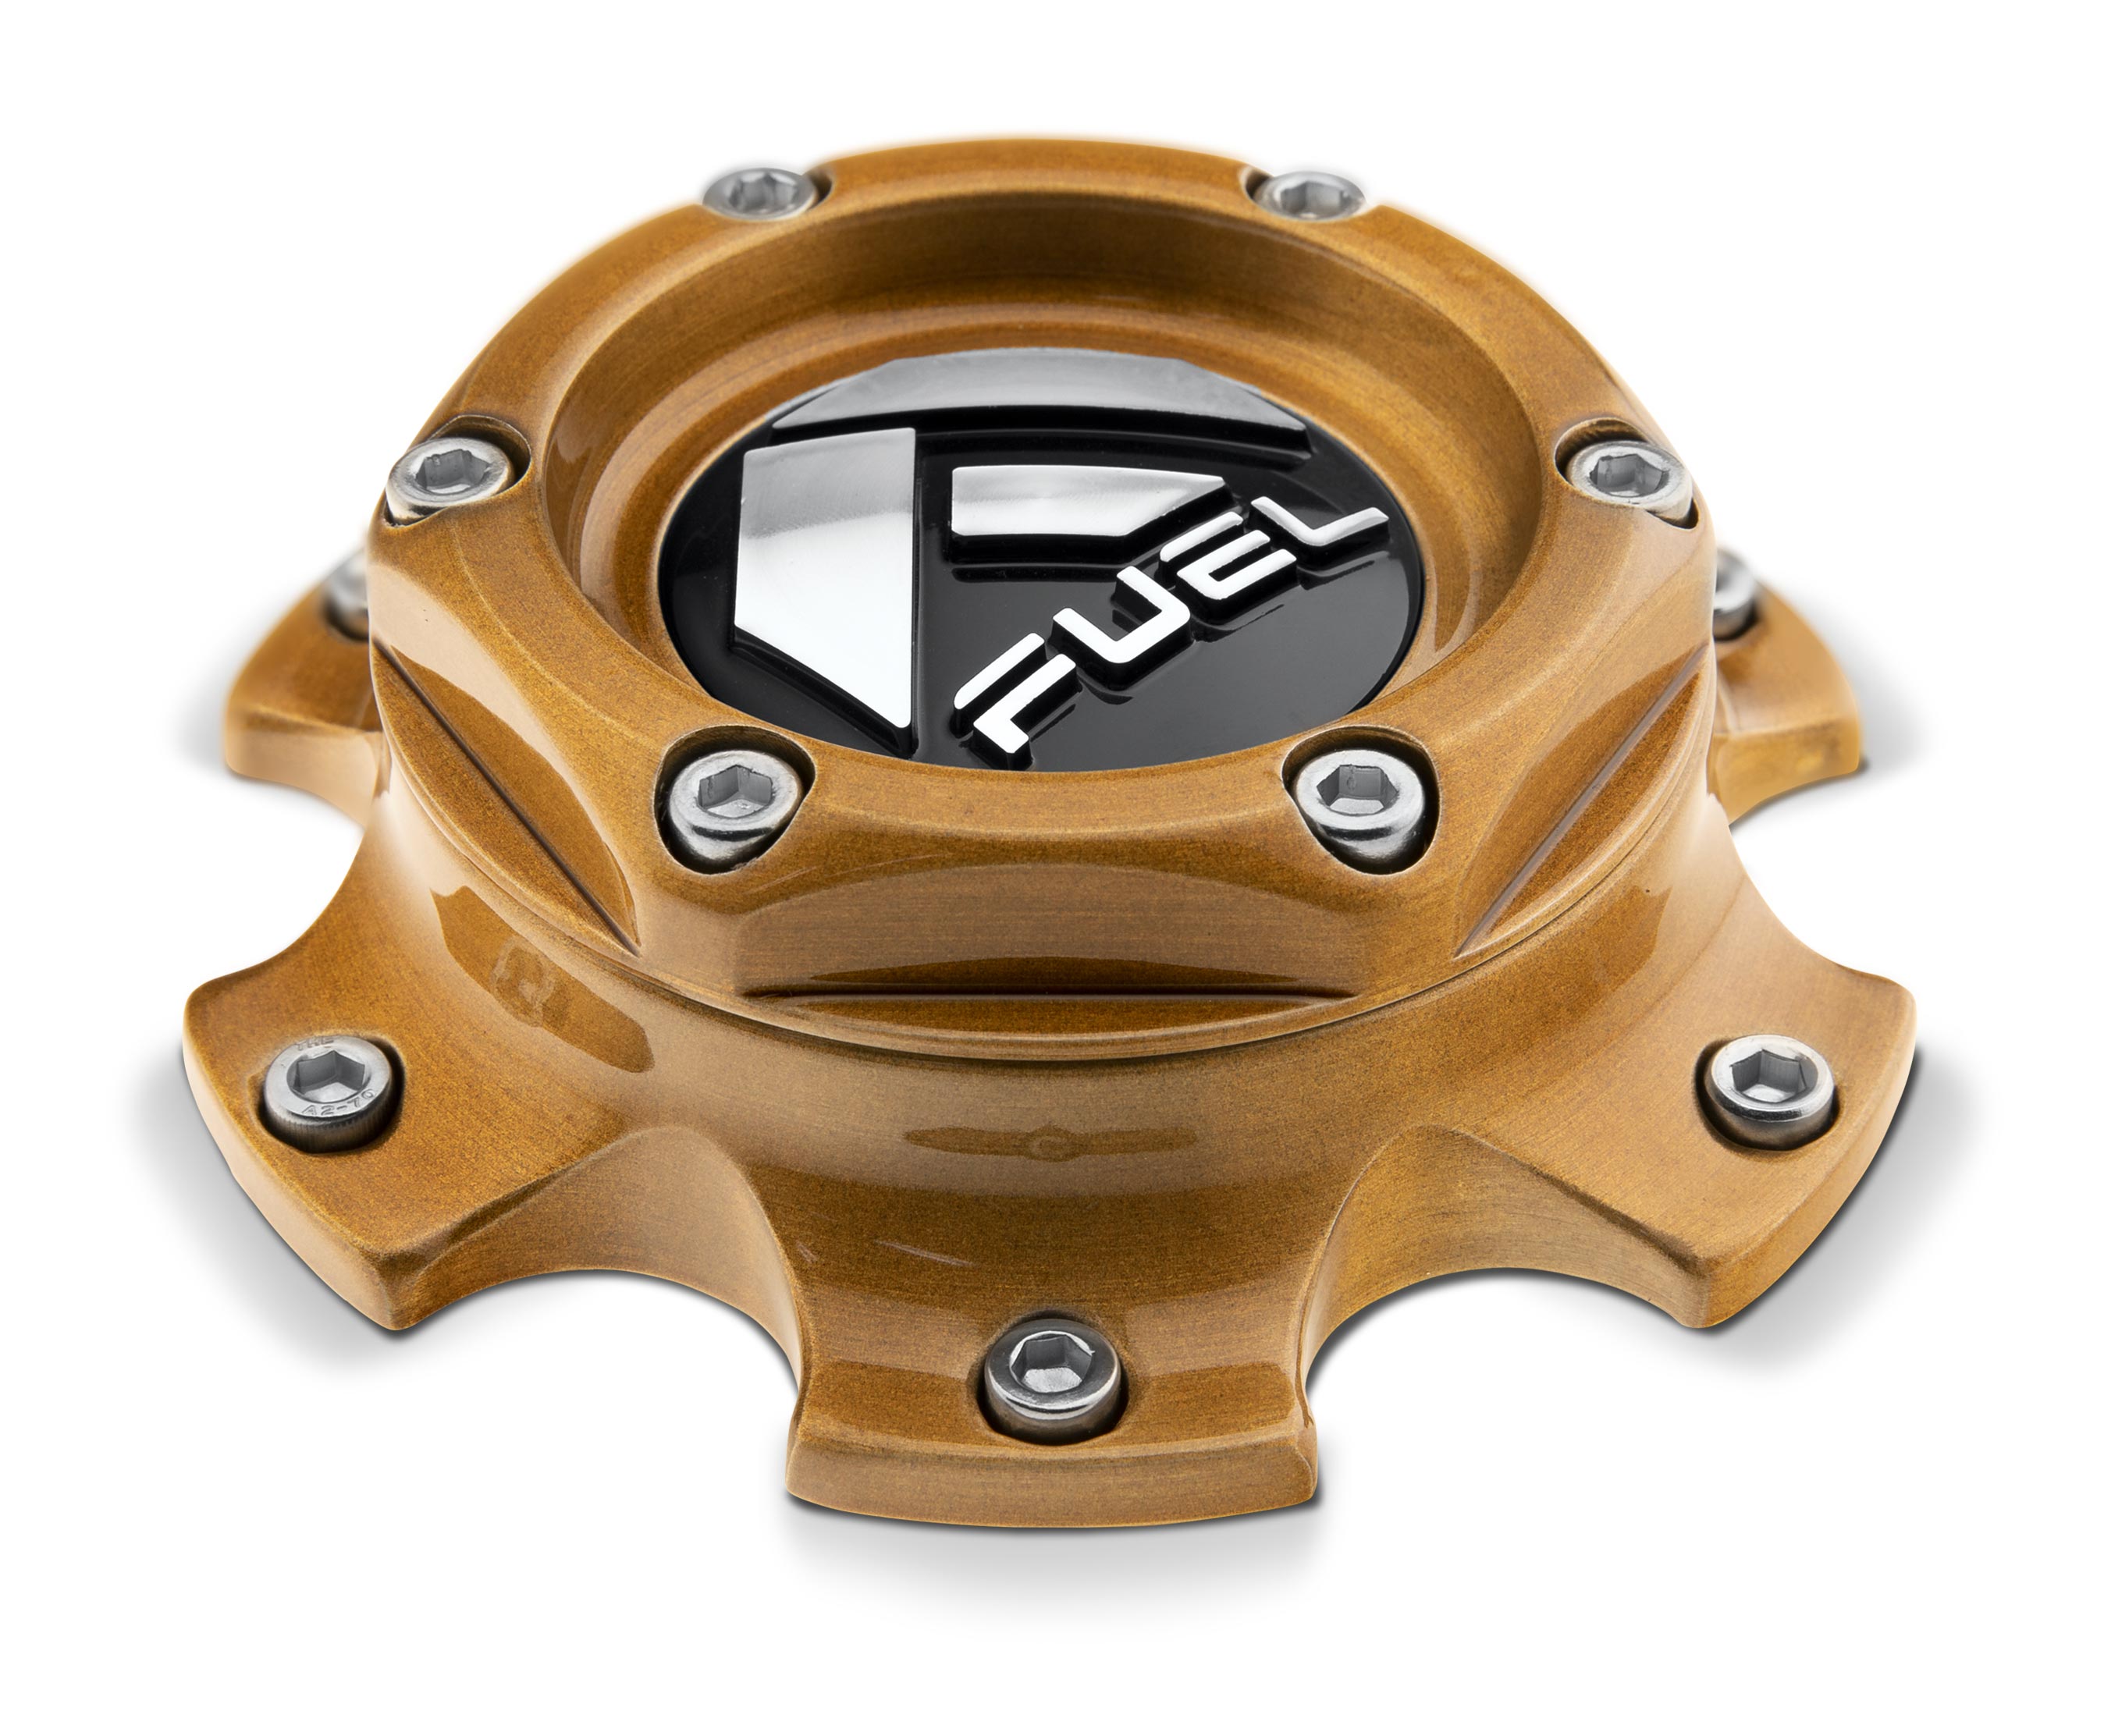
/ brushed matte gold
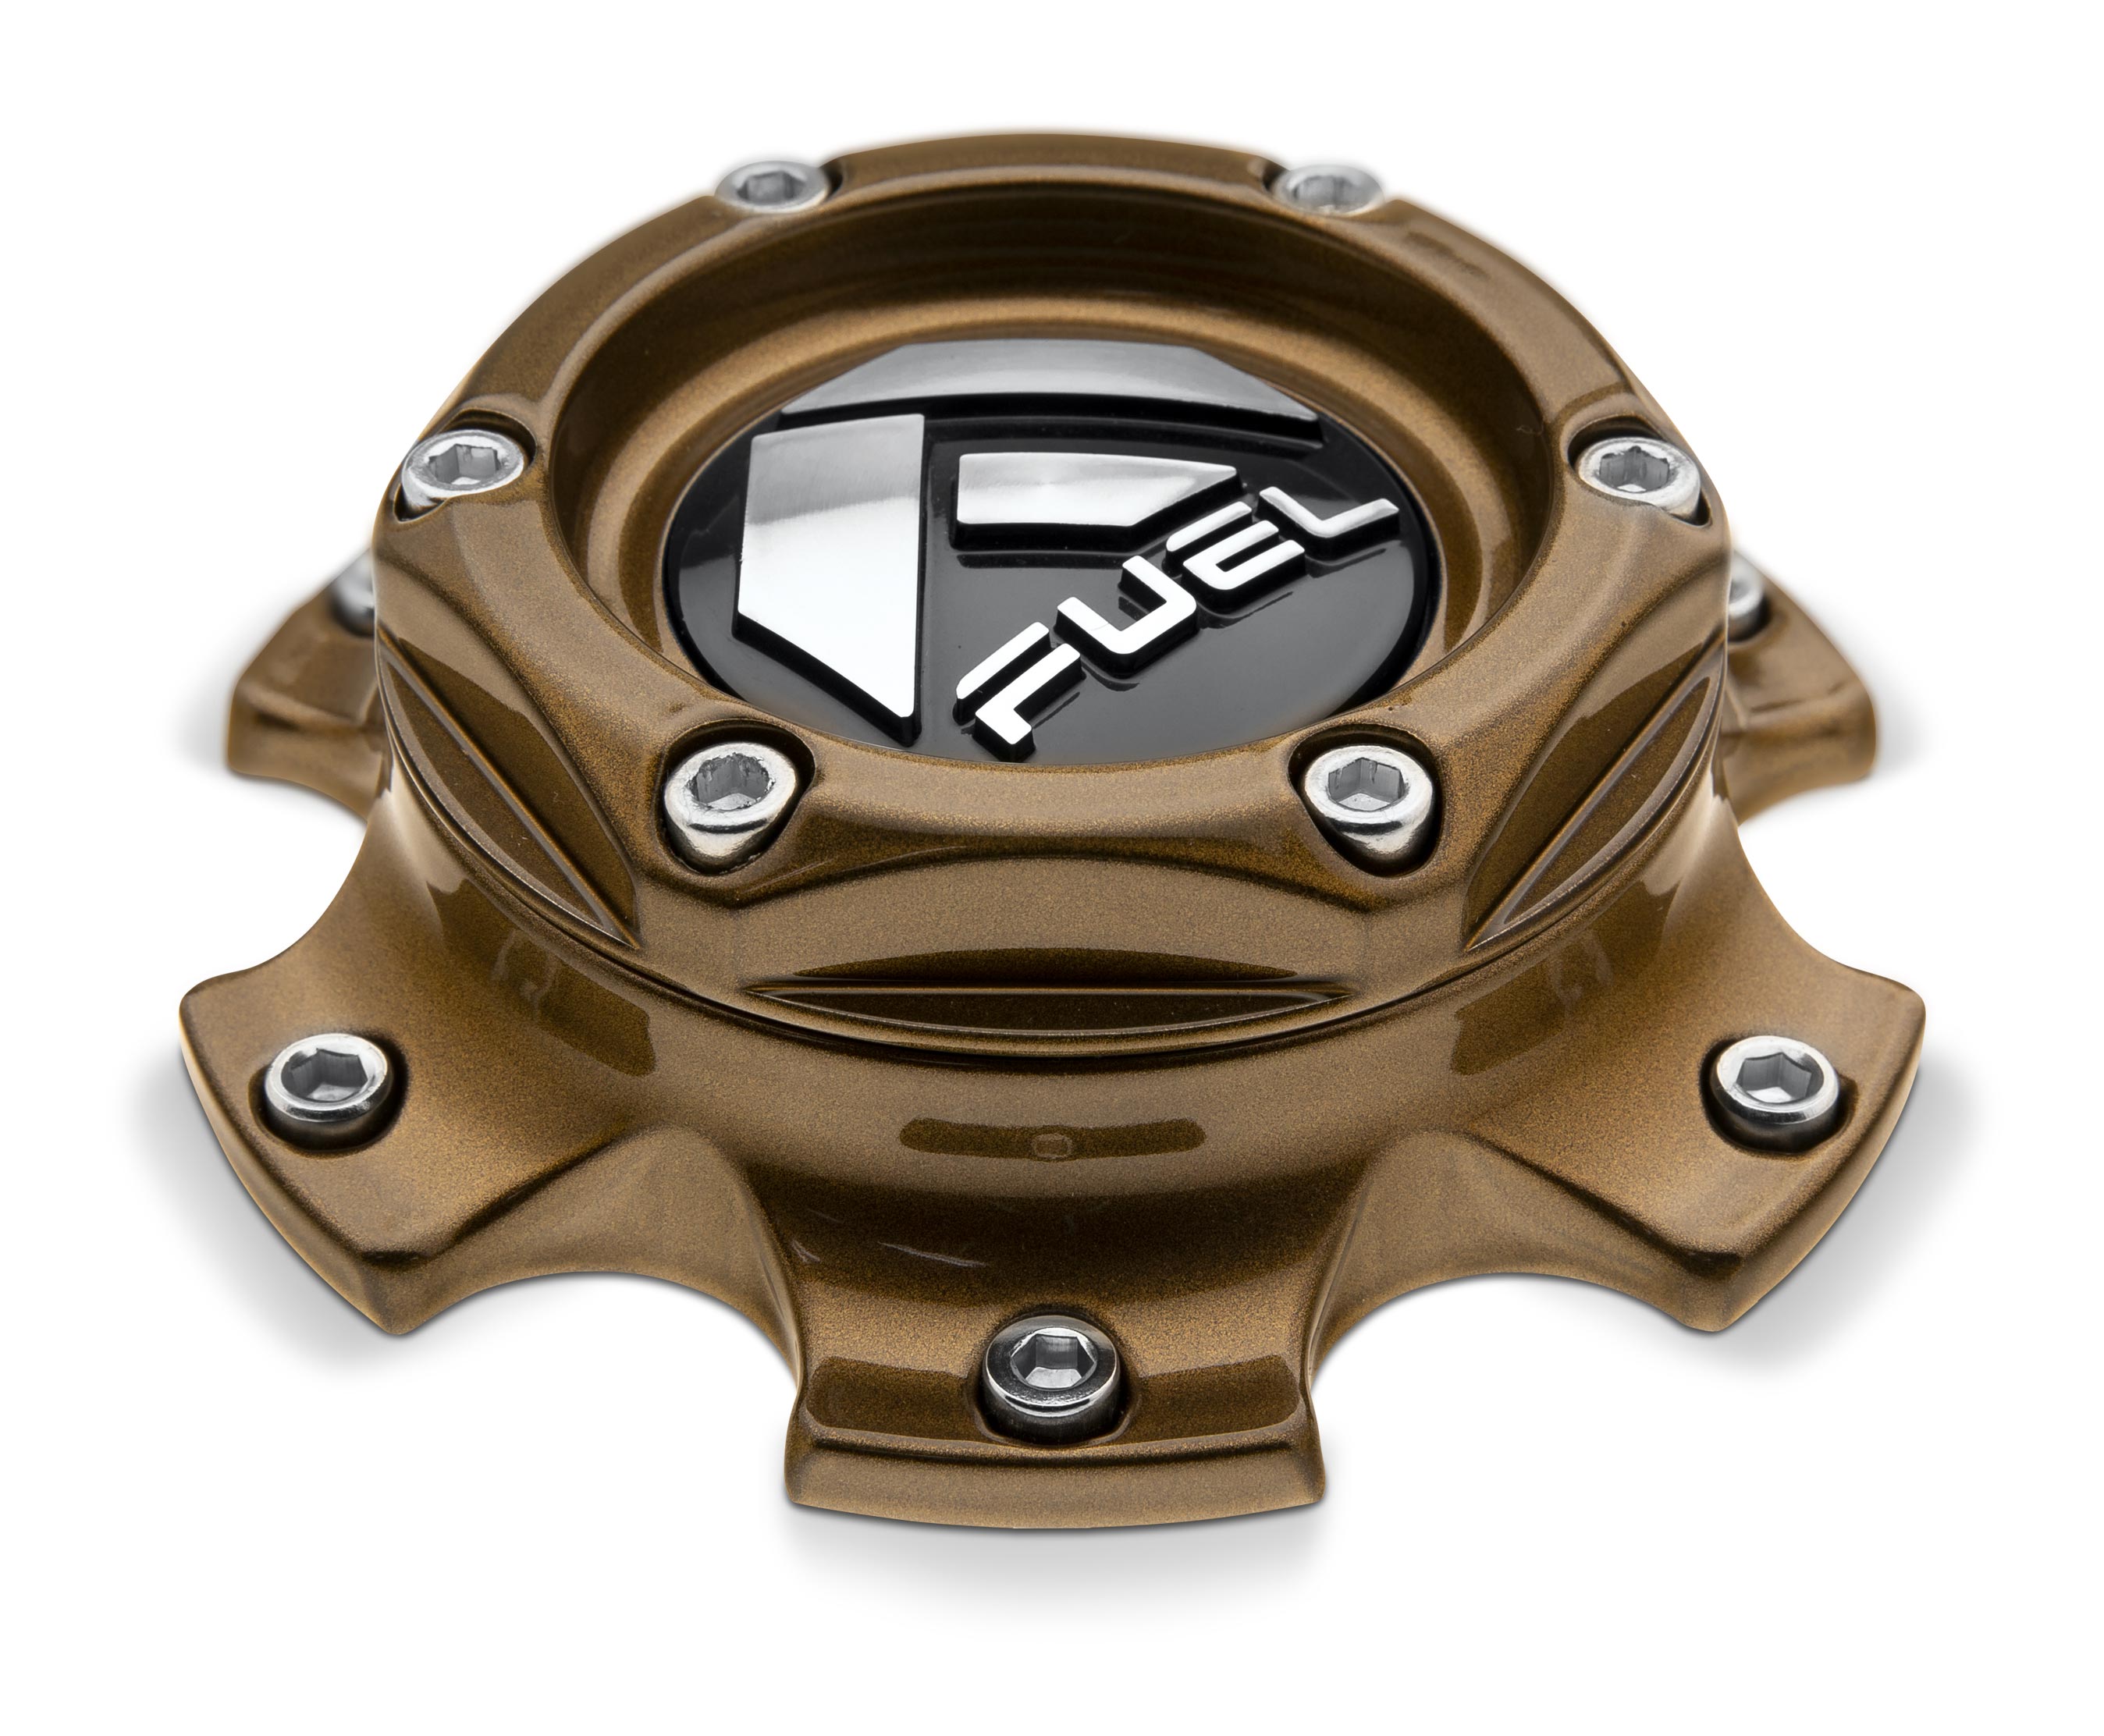
/ gloss bronze
/ brushed gloss candy black
/ gloss brushed
/ gloss brushed single dark tint
/ matte brushed ddt
/ brushed gloss rose gold
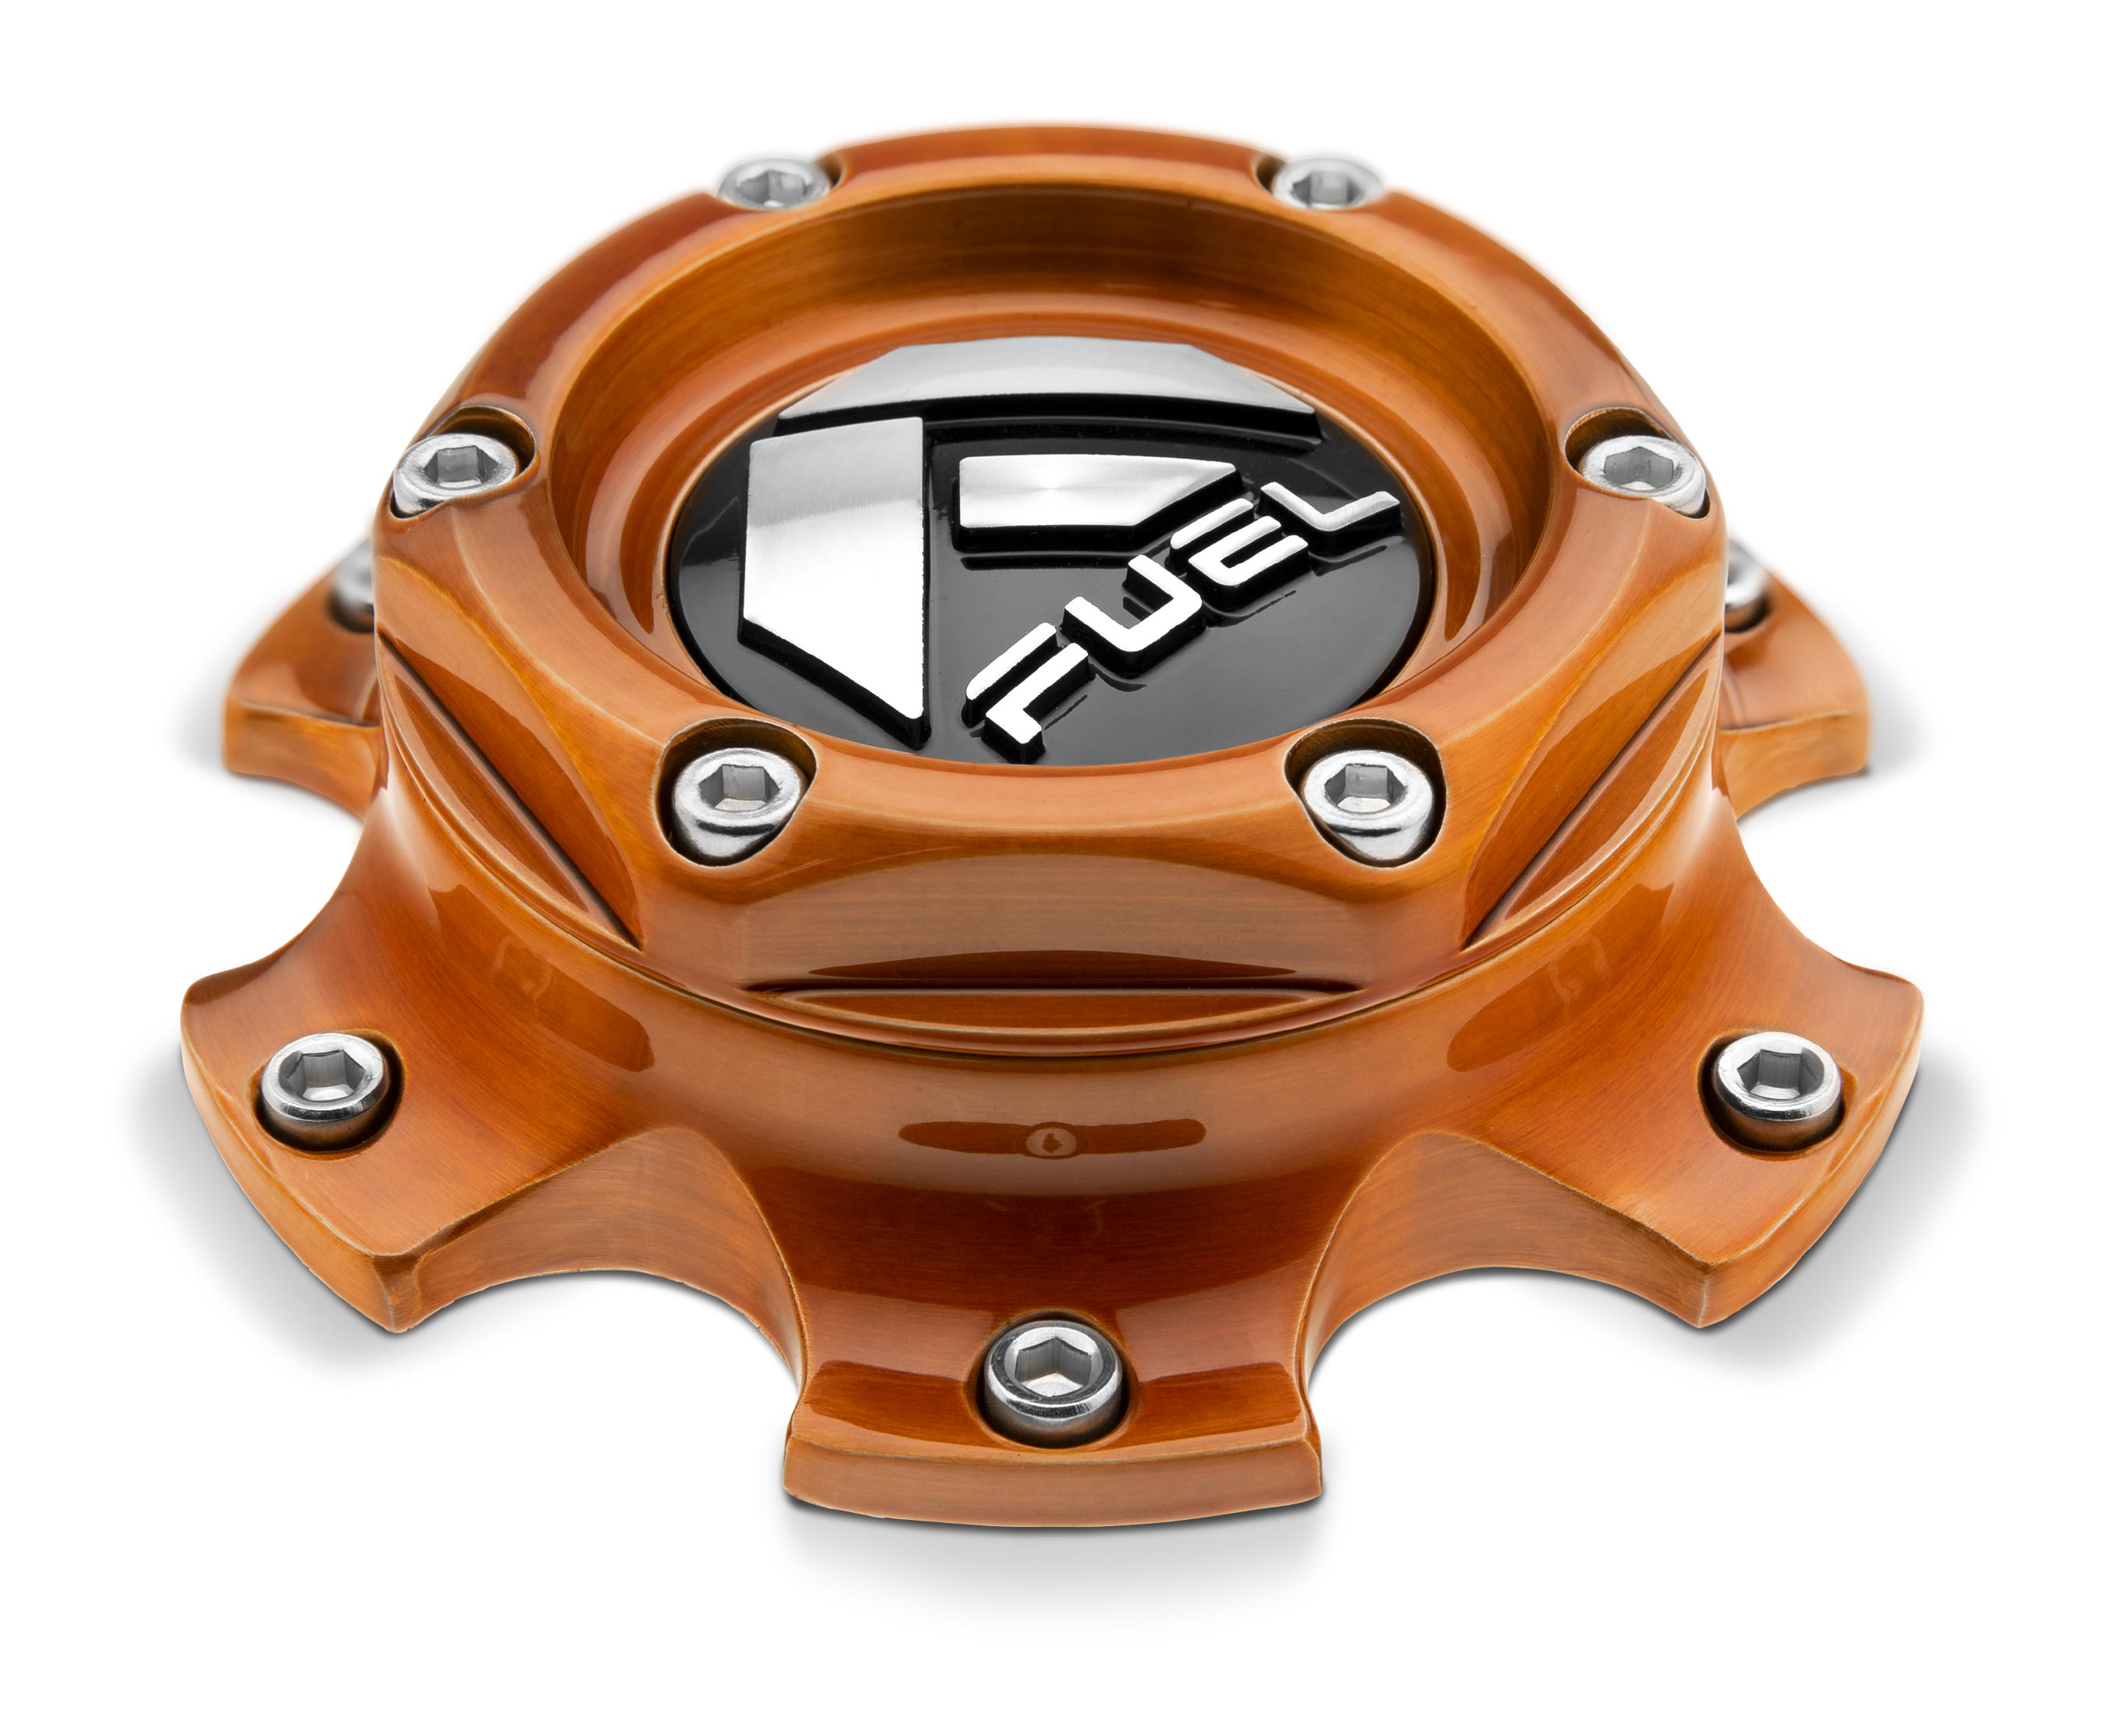
/ gloss brushed monaco copper
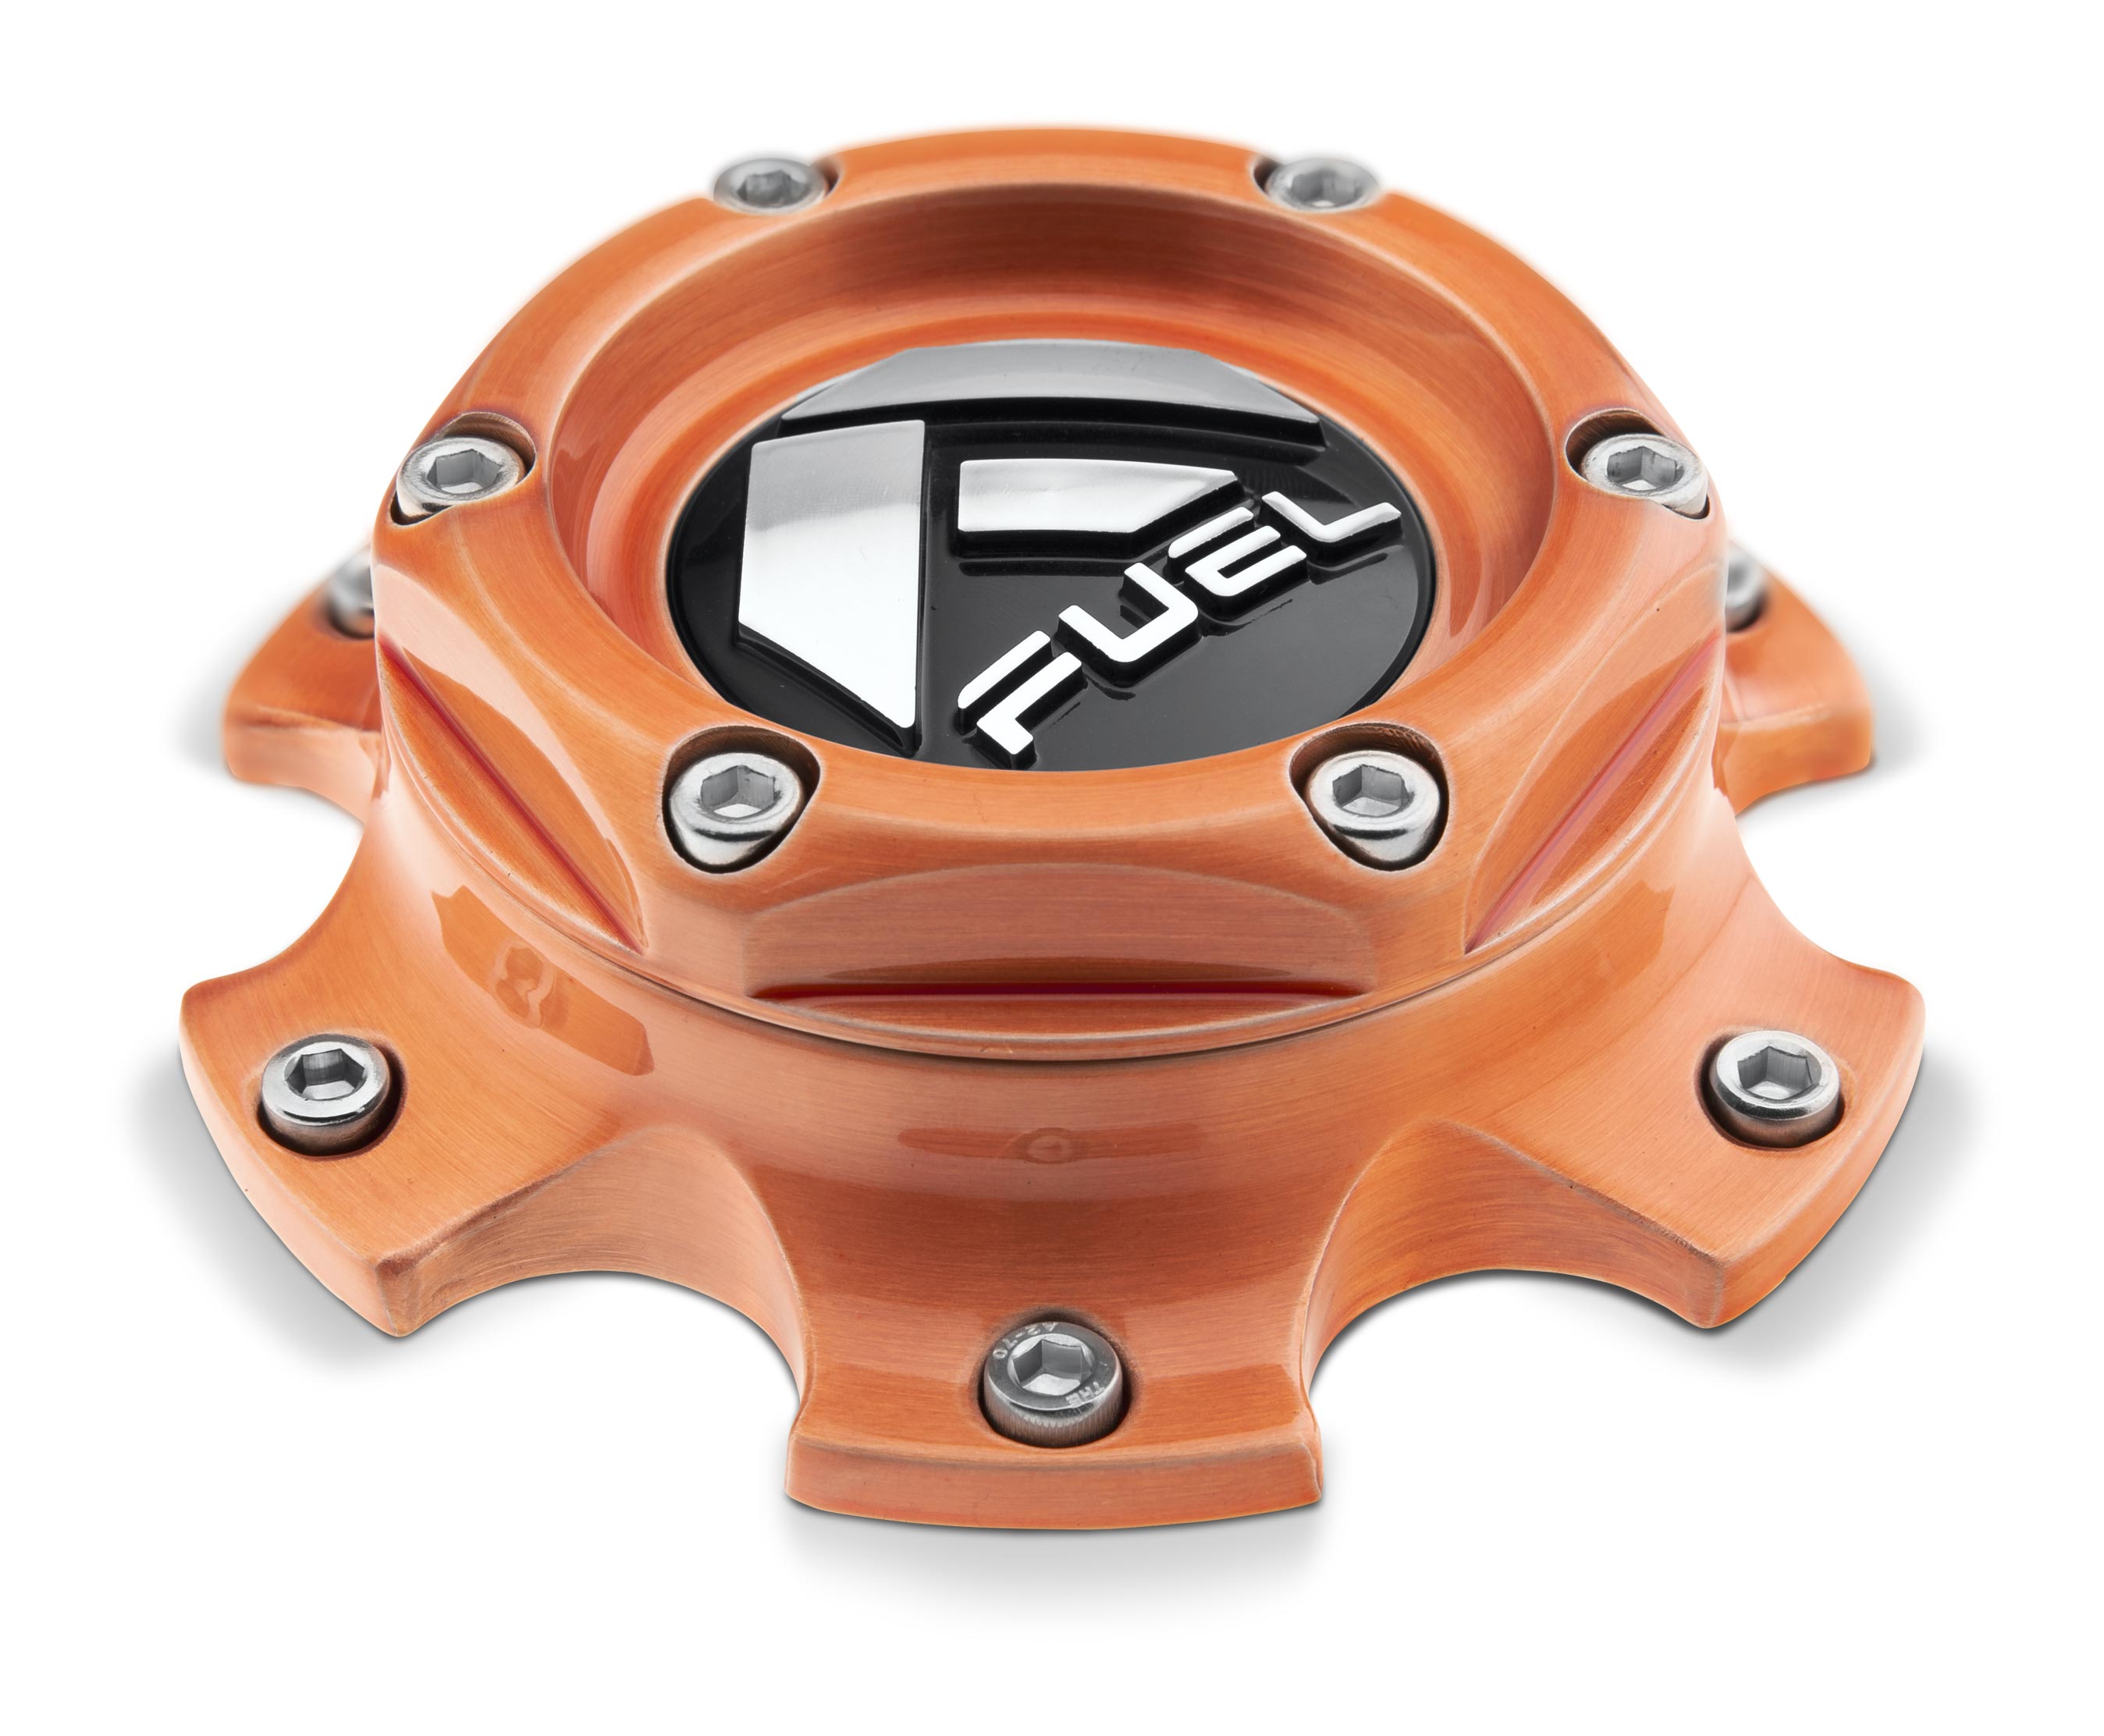
/ brushed candy copper
/ brushed candy red
/ brushed gloss candy blue
/ gloss candy pink
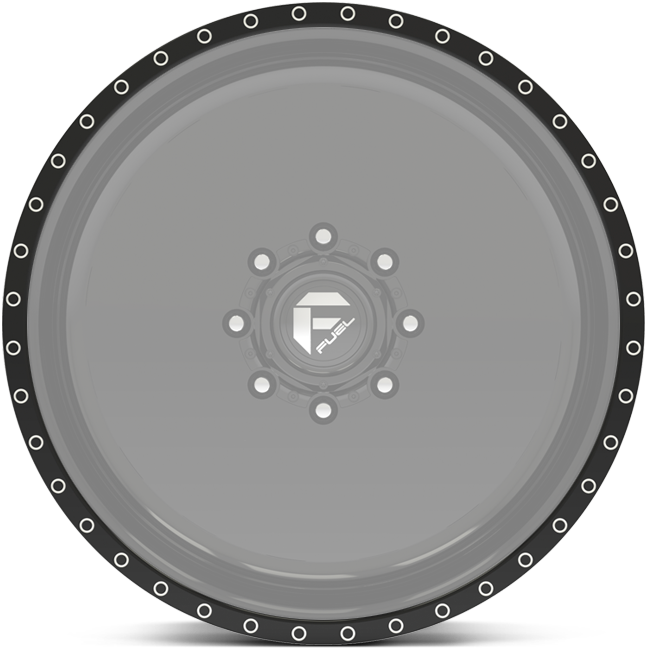
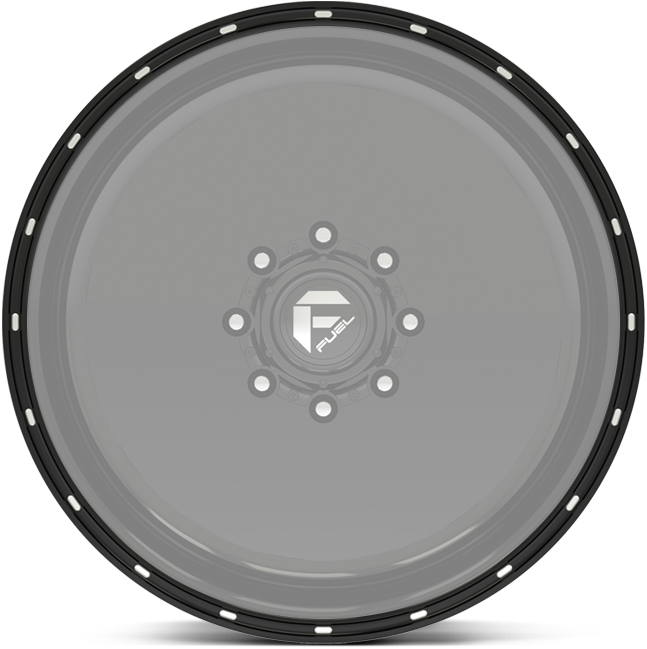
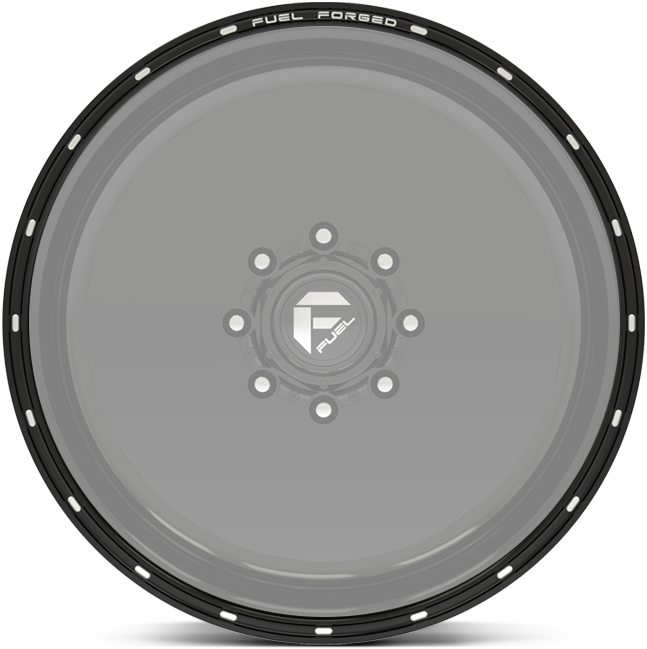
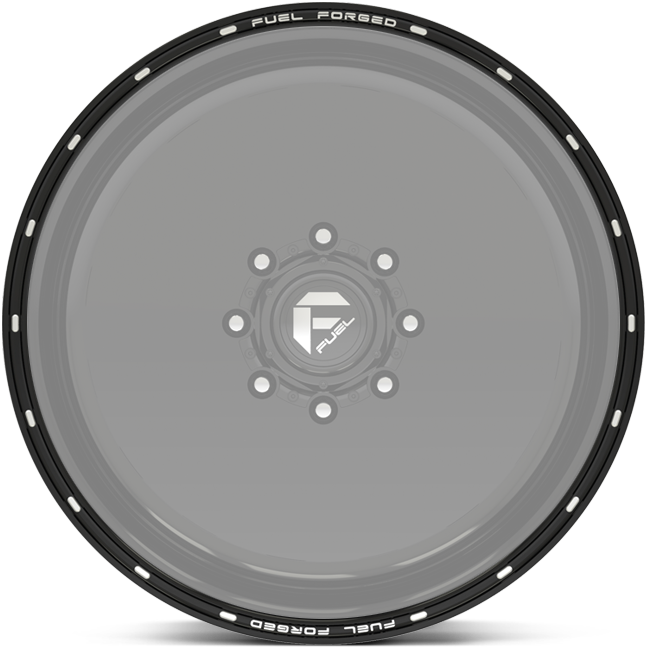
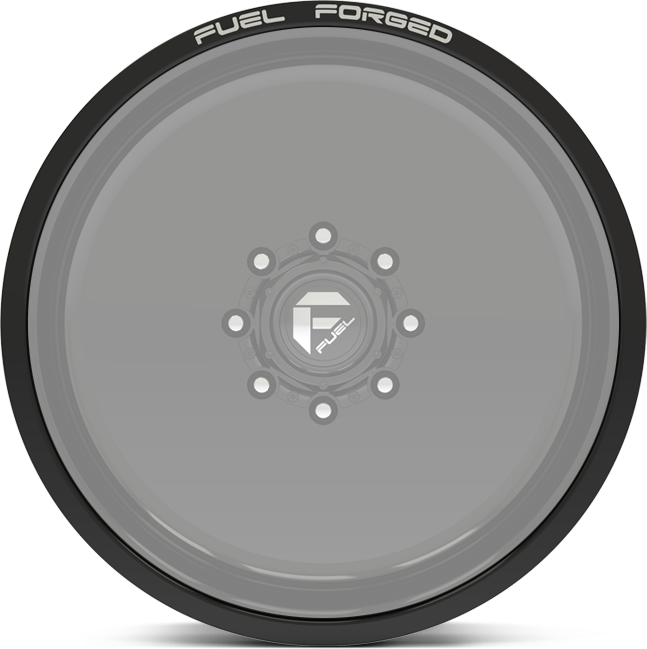
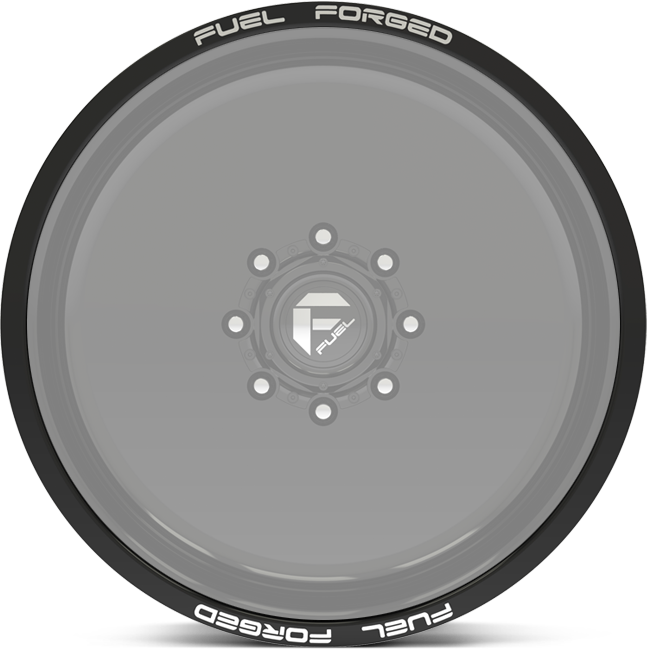
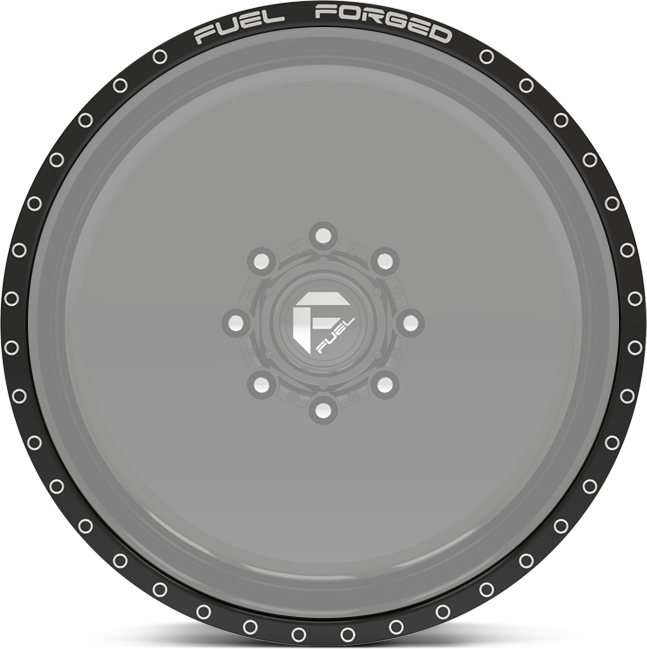
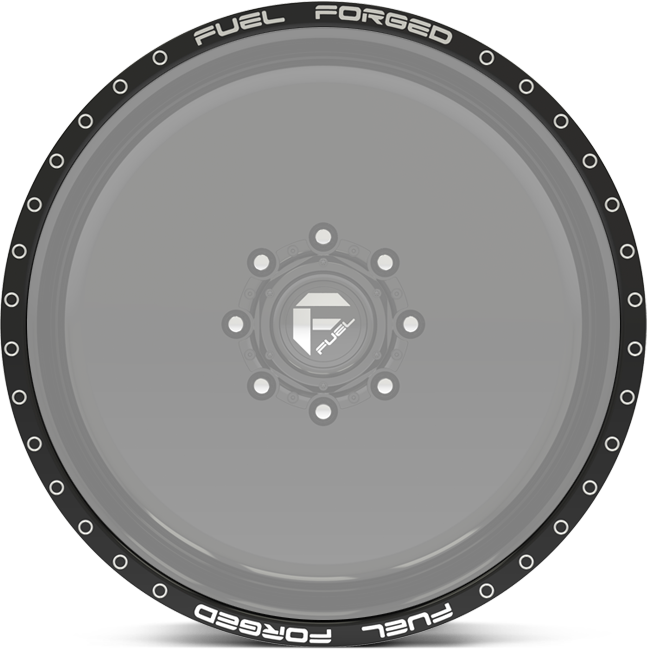
lip details.
Choose any of these lip detail options when building your forged wheels.
option a
option d
option g
option h
option i
option j
option bb
option cc
option ee
option ff
These products can expose you to chemicals including chromium, nickel and lead which are known by the State of California to cause cancer, or birth defects, or other reproductive harm. For more information please visit: www.P65warnings.ca.gov